


Table of Contents:
What Type of Reverse Osmosis System Are You Installing?
What Tools and Materials Do I Need for a Reverse Osmosis System Installation?
What Are the Steps to Install a Reverse Osmosis System Under My Sink?
How Do I Install a Reverse Osmosis System in My Basement?
DIY vs Professional Installation: What Should You Consider?
Can I Upgrade or Change the Filters on My Existing Reverse Osmosis System?
Common Mistakes to Avoid
FAQs
Conclusion
Clean drinking water is not always a given, even in cities with treated municipal supplies. Report from the Environmental Protection Agency (EPA) shows that contaminants like PFAS affect drinking water across large parts of the U.S., with estimates suggesting roughly 165 million Americans may be exposed.
Reverse osmosis (RO) systems are widely used to reduce these risks. The question for many homeowners is whether installing an under-sink, countertop, or whole home reverse osmosis system is something you can handle yourself.
What Type of Reverse Osmosis System Are You Installing?
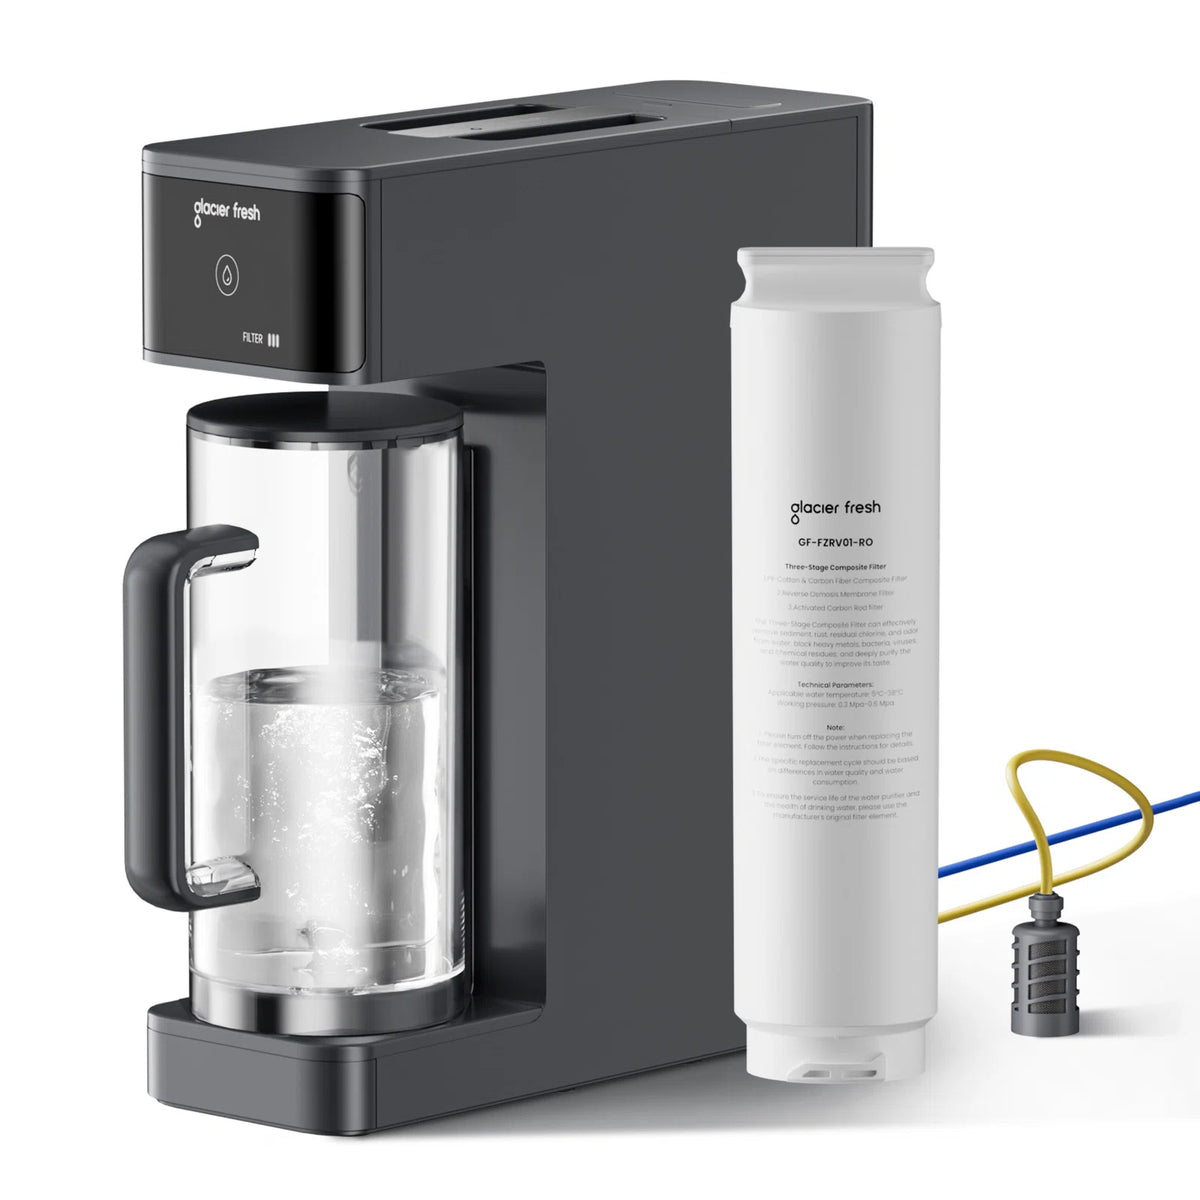
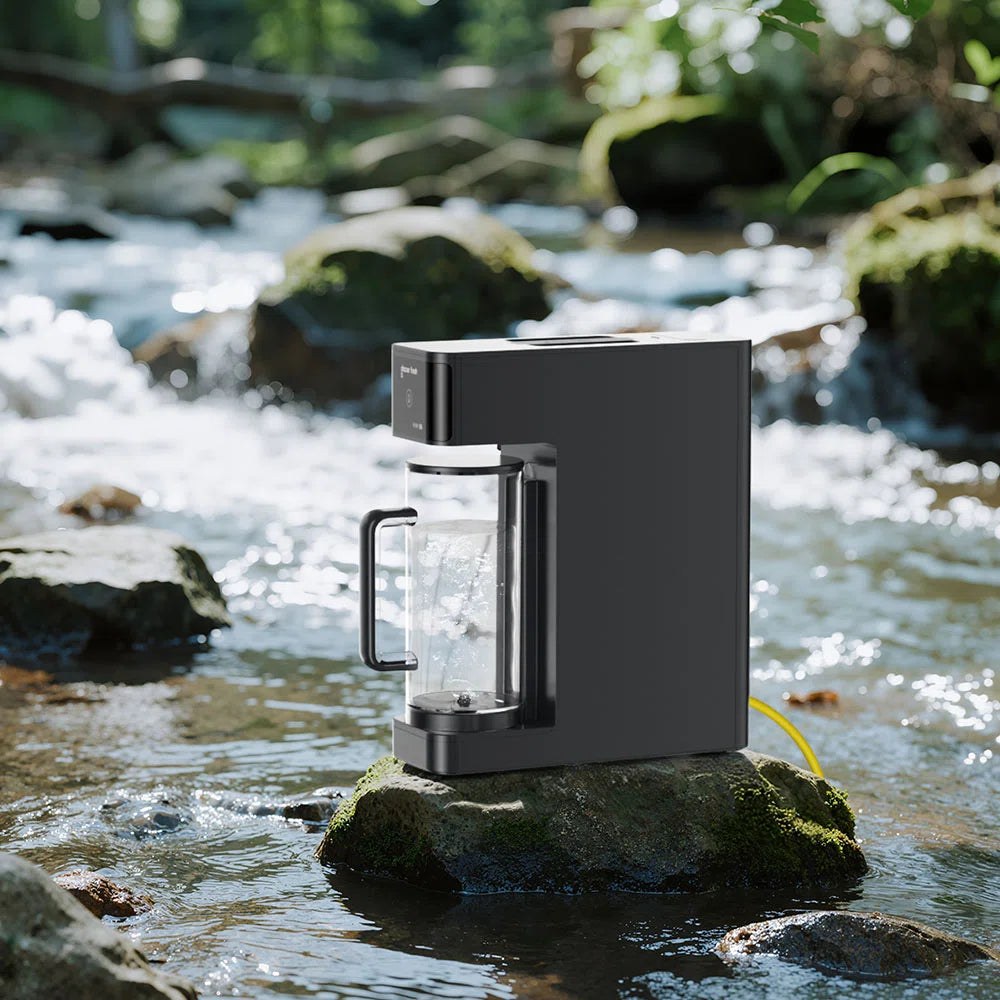
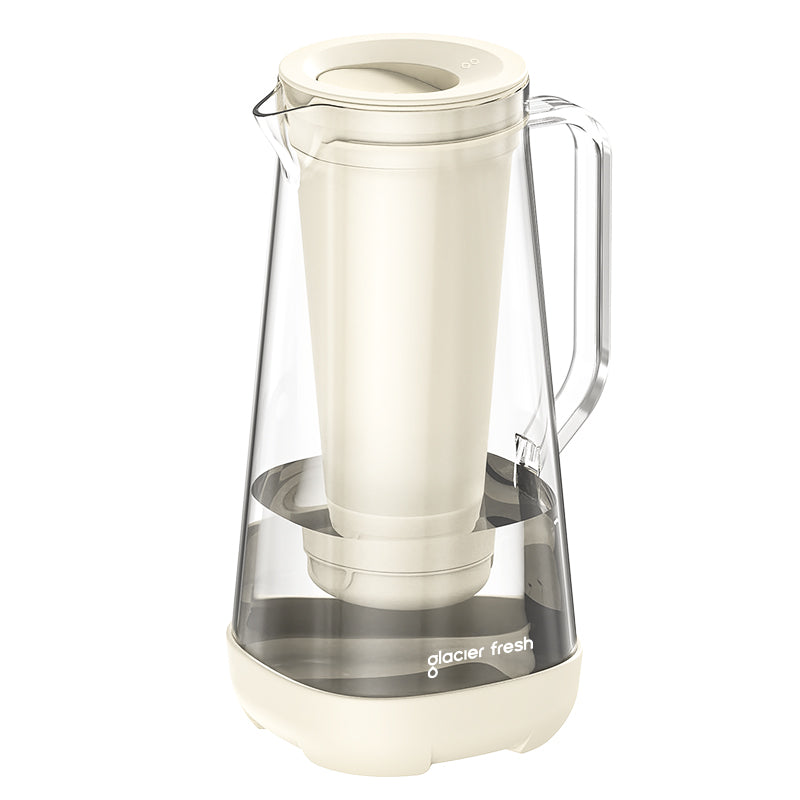
Countertop Reverse Osmosis System

A countertop reverse osmosis system is typically the simplest option to install. These systems are designed to sit on a counter and connect directly to a faucet or fill reservoir.
-
Plug-and-play setup with no plumbing changes
-
Minimal tools required, often none
-
Well-suited for renters or first-time users
Because the internal RO membrane uses extremely small pores, the Centers for Disease Control and Prevention (CDC) lists reverse osmosis among technologies capable of removing bacteria such as E. coli and viruses like norovirus and Hepatitis A from drinking water.
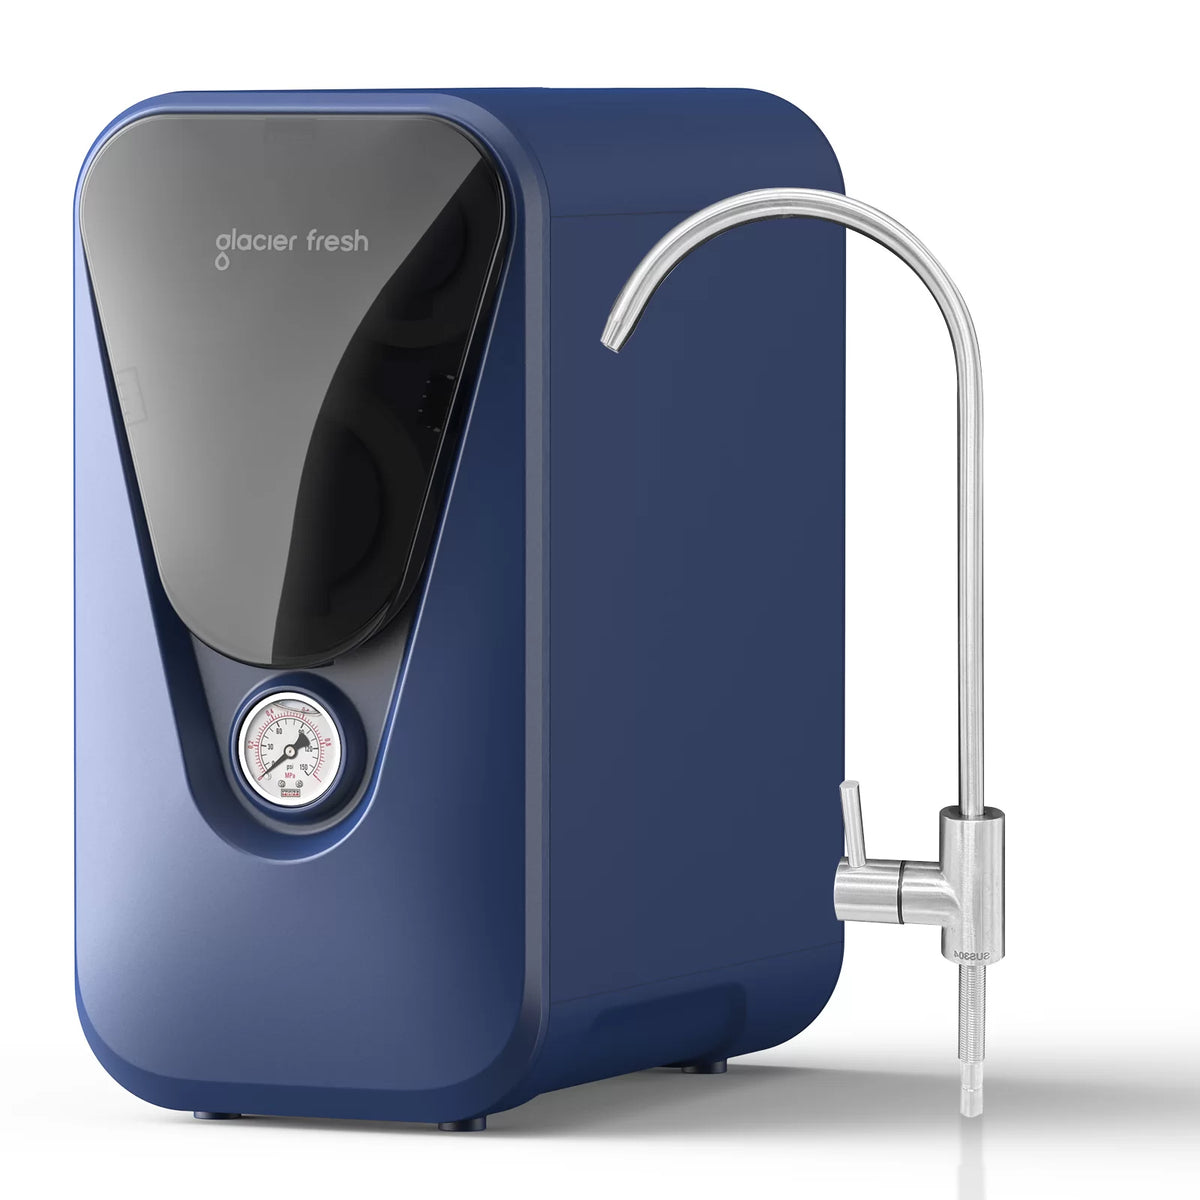
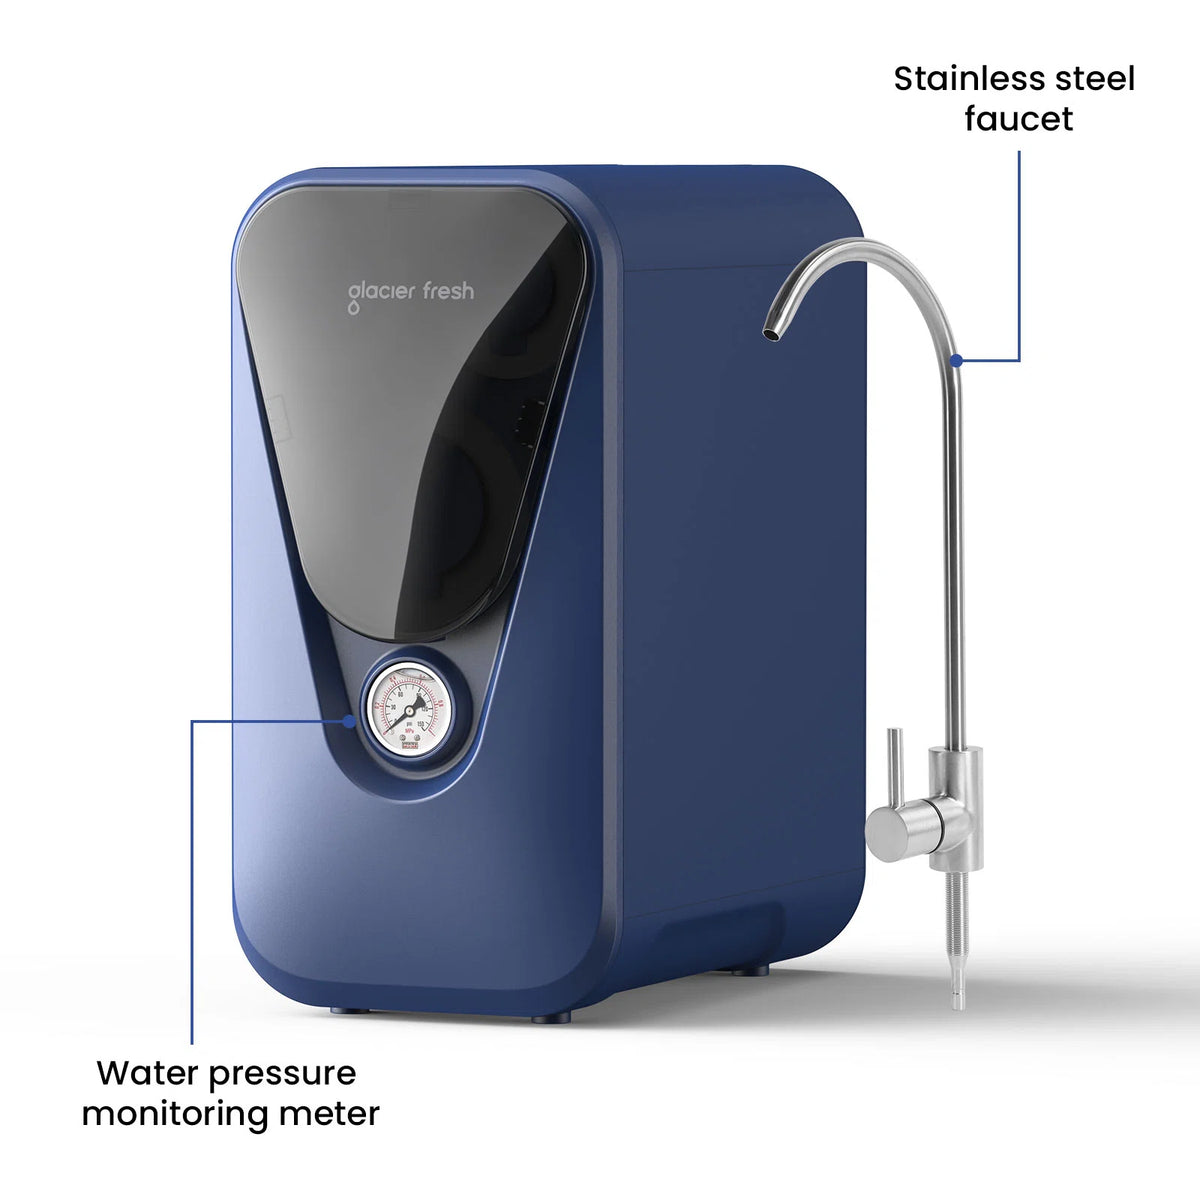
Under-Sink Water Reverse Osmosis System

An under-sink water reverse osmosis system is the most common residential configuration. It installs below the kitchen sink and connects to the cold water line.
-
Moderate DIY difficulty for homeowners comfortable with basic tools
-
Requires feed water, drain, and faucet connections
-
Usually includes a storage tank or tankless design
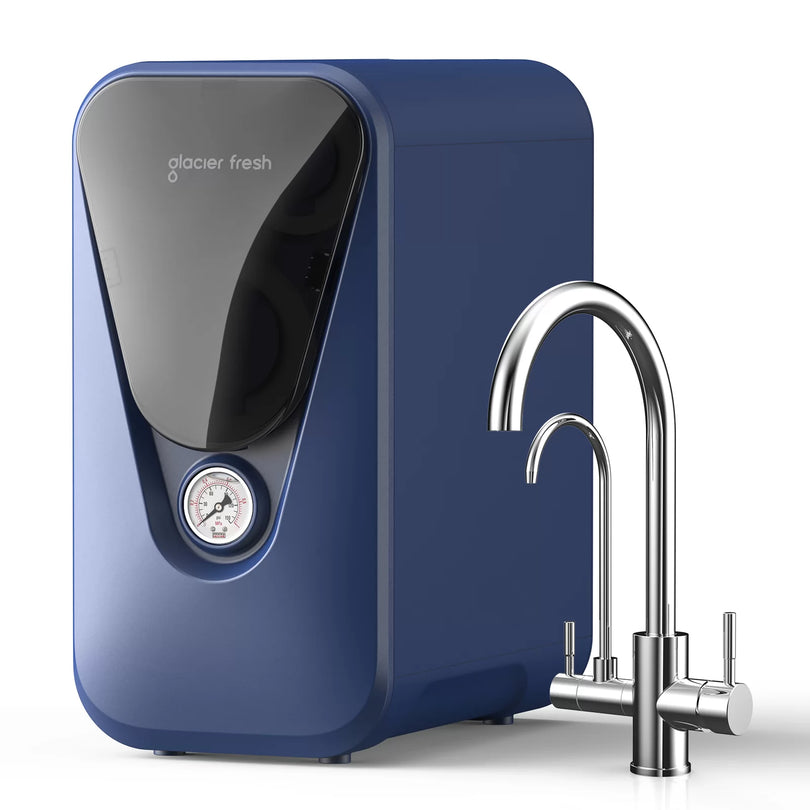
This category is where systems like the GlacierFresh 800GPD Undersink Reverse Osmosis System U03 tend to stand out for DIY users. Its tankless, non-electric design reduces installation steps, while NSF/ANSI 58 certification and a 5-stage filtration process address contaminants such as PFAS, chlorine, and heavy metals.
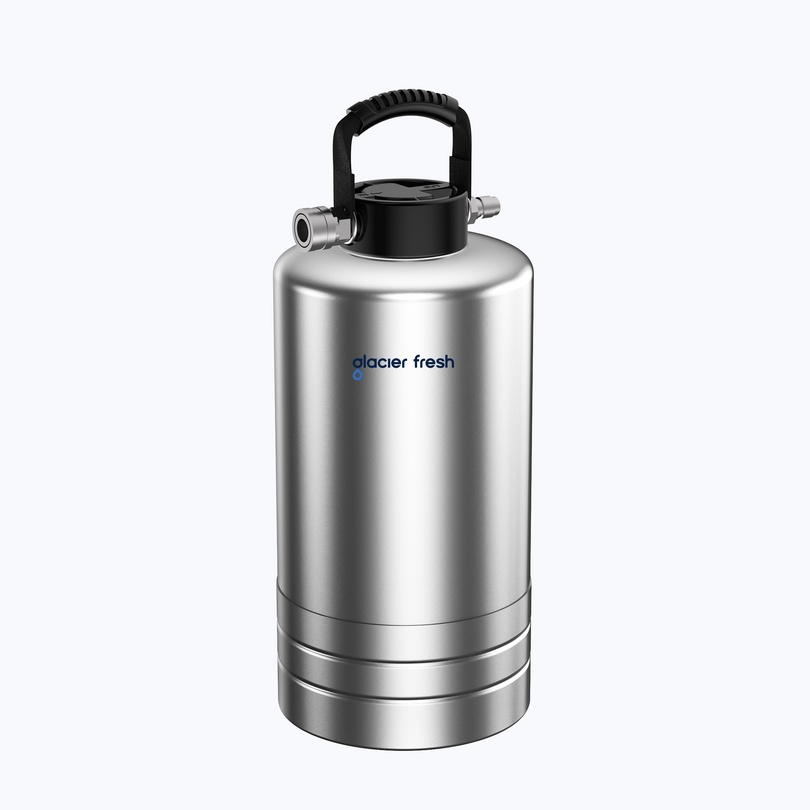
Whole Home Reverse Osmosis System
A whole home reverse osmosis system is installed at the point where water enters the house. These systems treat all water used for drinking, bathing, and appliances.
-
Installed at the main water line or pressure tank
-
Higher flow demands and larger equipment
-
Often requires pressure management and drain planning
EPA research shows that point-of-use RO systems, including RO membranes, can significantly reduce PFAS levels. While whole home systems may also address PFAS, their complexity makes installation more demanding.
What Tools and Materials Do I Need for a Reverse Osmosis System Installation?
Most residential RO installations use common household tools. You typically need:
-
Adjustable wrench
-
Drill for faucet mounting if required
-
Screwdrivers
-
Teflon tape for threaded connections
Most systems include tubing, fittings, filters, membrane housings, and storage tanks when applicable. Manufacturer instructions should always be reviewed before starting, since connection layouts vary by model.
What Are the Steps to Install a Reverse Osmosis System Under My Sink?

Under-sink systems follow a similar process across brands, though layouts differ. A typical installation includes:
-
Shutting off the cold water supply
-
Installing a feed water adapter
-
Mounting the filter assembly and RO membrane
-
Connecting the drain line
-
Installing the storage tank and faucet
-
Flushing the system and checking for leaks
Many homeowners complete these installations successfully by following diagrams provided by the manufacturer. The process is detailed but manageable for someone comfortable with basic plumbing tasks.
How Do I Install a Reverse Osmosis System in My Basement?
Basement installations usually apply to whole home reverse osmosis systems. These are installed near the main water entry point or pressure tank.
You need adequate floor space, access to a drain, and sometimes an electrical outlet depending on system design, which is not always obvious until you measure things out. Because improper pressure management can affect plumbing fixtures throughout the house, professional assessment is strongly recommended. Licensed installers also help ensure compliance with local plumbing codes, which is especially relevant in urban areas.
DIY vs Professional Installation: What Should You Consider?
Choosing between DIY and professional installation depends on system size, home layout, and your comfort level.
When DIY Installation Is Practical
DIY installation is reasonable for countertop units and many under-sink systems. Clear instructions, basic tools, and accessible plumbing all make it possible. For health-conscious families, the benefit is faster access to RO-treated water.
When Hiring a Professional Is the Better Choice
Professional installation is usually the better option for whole-home systems or homes with older plumbing. Complex layouts, limited access, and warranty considerations also factor in. Professional work reduces the risk of leaks and ensures the system operates within manufacturer specifications.
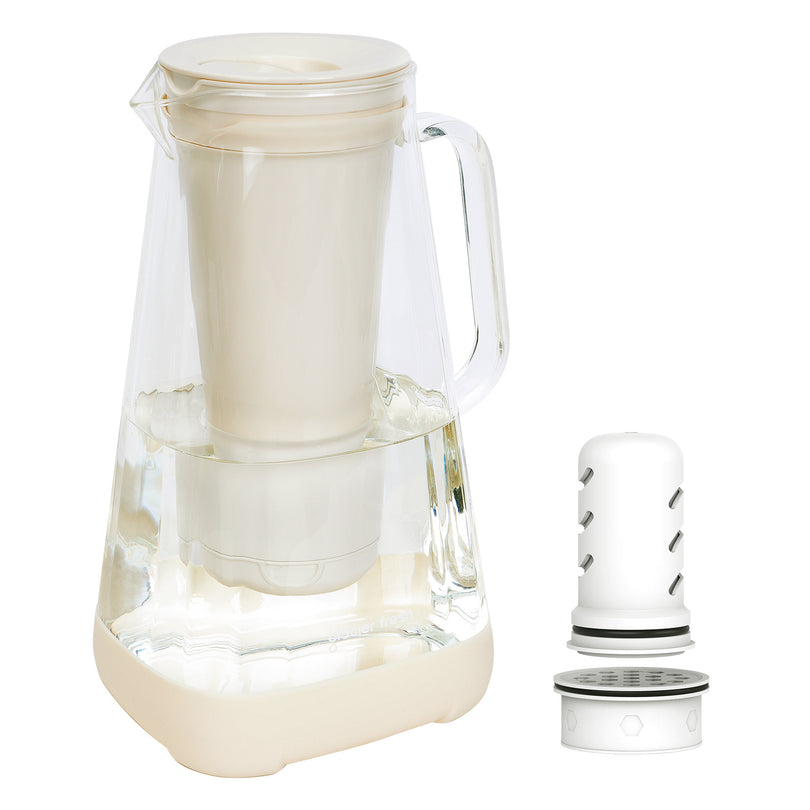
Can I Upgrade or Change the Filters on My Existing Reverse Osmosis System?
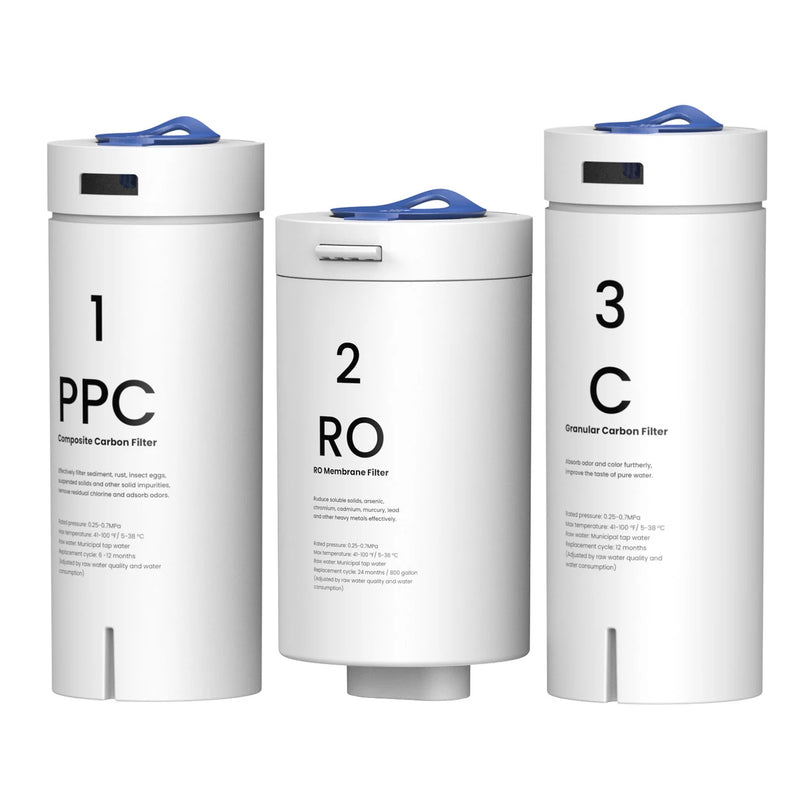
Most RO systems are designed for user-replaceable filters. Pre-filters are commonly replaced every 6 to 12 months, while RO membranes last 2 to 3 years, depending on water quality.
It’s essential to use compatible replacement filters. Some homeowners upgrade filtration stages, but compatibility checks are required to avoid pressure or flow issues. Regular filter maintenance supports performance, especially for removing contaminants such as PFAS.
Common Mistakes to Avoid
Installation problems often come from small oversights rather than major errors.
-
Skipping the initial system flush - can leave carbon fines or preservatives in the lines and affect taste.
-
Incorrect drain saddle placement - can lead to slow drainage, gurgling sounds, or wastewater backing up
-
Over-tightening fittings - can crack housings or deform O-rings and cause leaks later.
-
Failing to check for leaks after installation - checking should be done in the first 24 hours when pressure stabilizes.
FAQs
Is a reverse osmosis system hard to install?
For many homeowners, installation difficulty depends on the system type. Most countertop and under-sink systems are manageable if you are comfortable with basic tools. Whole home systems are more complex and often better handled by professionals.
How long does it take to install a reverse osmosis system?
Countertop systems may take under 10 minutes. Under-sink installations usually take 30 to 90 minutes depending on experience and sink layout. Whole home installations can take several hours or more due to system sizing and line connections.
How much does it cost for a reverse osmosis system to be installed?
DIY installation costs little beyond the system itself. Professional installation for under-sink systems often ranges from $150 to $400. Whole home systems typically cost more due to plumbing work, pressure regulation, and potential code requirements.
What is the disadvantage of reverse osmosis water?
Reverse osmosis removes a wide range of dissolved solids, which can also reduce naturally occurring minerals such as calcium and magnesium. Many modern systems address this with post-filtration or mineral retention stages.
Do I need boil water if I have reverse osmosis?
Boiling water is generally unnecessary when using a properly functioning reverse osmosis system. The CDC recognizes reverse osmosis as effective at removing many bacteria and viruses from drinking water. Routine filter maintenance is still important to ensure consistent water quality.
Conclusion
Research by the National Academies indicates that reverse osmosis can remove nearly all fluoride from water, which is one reason many households choose it in regions where fluoride levels are a concern.
If you are comparing options, GlacierFresh offers a range of reverse osmosis systems designed for different home layouts, installation comfort levels, and water quality priorities. Exploring those options can help you match the right system to how you live and use water every day.