


Table of Contents:
What Is an RO System?
How to Install Reverse Osmosis Systems?
Common Installation Mistakes to Avoid
How to Maintain and Replace RO Filters?
FAQs
Conclusion
Drinking water is essential for every home, and a Reverse Osmosis (RO) system provides you with clean and safe water. These systems are known to eliminate contaminants and chemicals and offer clean and excellent-tasting water straight from your tap.
Whether you’re a potential buyer who’s exploring options or is going to install one yourself, this guide will take you through the whole process.
Learn about how it should be prepared, how it should be maintained, and all that in easy steps to follow.
What Is an RO System?

A reverse osmosis (RO) system is an advanced unit of water purification, which operates by pressurizing the water with a semipermeable membrane. It is able to eliminate close to 99 percent of pollutants such as chlorine, heavy metals, fluoride, and microplastics.
Modern RO systems are provided with a series of filtration processors, which usually include sediment, carbon, RO membrane, and post-carbon filters to provide safe, refreshing, and mineral-balanced water.
Be it a home, an RV, or the workplace. An RO system is a sure source of clean drinking water and will save on the expenditure of bottled water.
Many homeowners also wonder whether RO water is safe and healthy to drink, and modern systems are designed to ensure that purified water maintains a clean, balanced taste while meeting safety standards.
How to Install Reverse Osmosis Systems?

Having the know-how before starting the process is important. The installation of the RO system is simple and can be performed at home with simple knowledge of plumbing and attention to detail.
Preparation Before Installation
Get your tools ready first: an adjustable wrench, tubing cutter, Teflon tape, and a bucket in the event of minor leaks.
Turn off the valve of your sink that supplies the cold water and clear the area to access it easily. Next, take the RO unit from the packaging and check to see that everything was included, i.e., filter housings, tubing, faucet, tank, and connectors.+
Before moving forward, it’s also helpful to understand reverse osmosis disadvantages and what to know before installing a system, such as wastewater production and the need for timely filter replacements. Being aware of these factors ensures realistic expectations during and after installation.
Step-by-Step RO System Installation Process
-
Mount the faucet: Find a hole (as necessary) in your sink or countertop and fit the RO faucet into it.
-
Connect the feed water valve: This connects the cold-water line with the feed water valve used to feed the RO unit.
-
Install the drain saddle: This is connected to the drain line of your sink, which lets the wastewater exit the RO system.
-
Position the storage tank: With the tank, position the tank close to the RO unit (upright position) and connect the tubing.
-
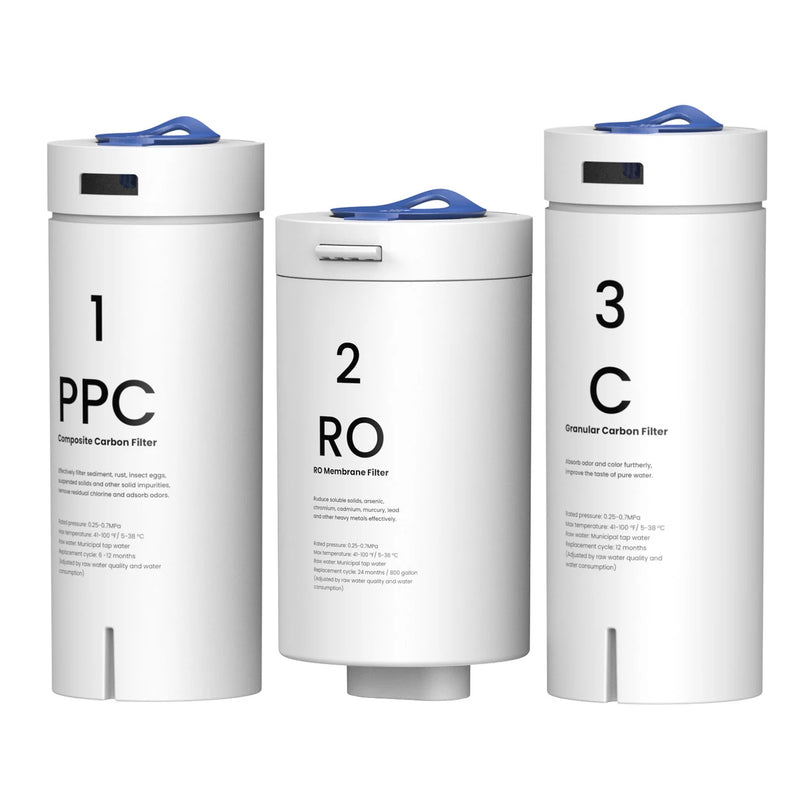
Attach the filters and membrane: Follow the sequence suggested in the instruction manual. Usually, sediment is followed by carbon, then RO membrane, and finally post-carbon.
-
Flush and test: Open the feed valve, allow the system to fill, and verify that there are no leaks. Before drinking, empty the tank and fill it up.
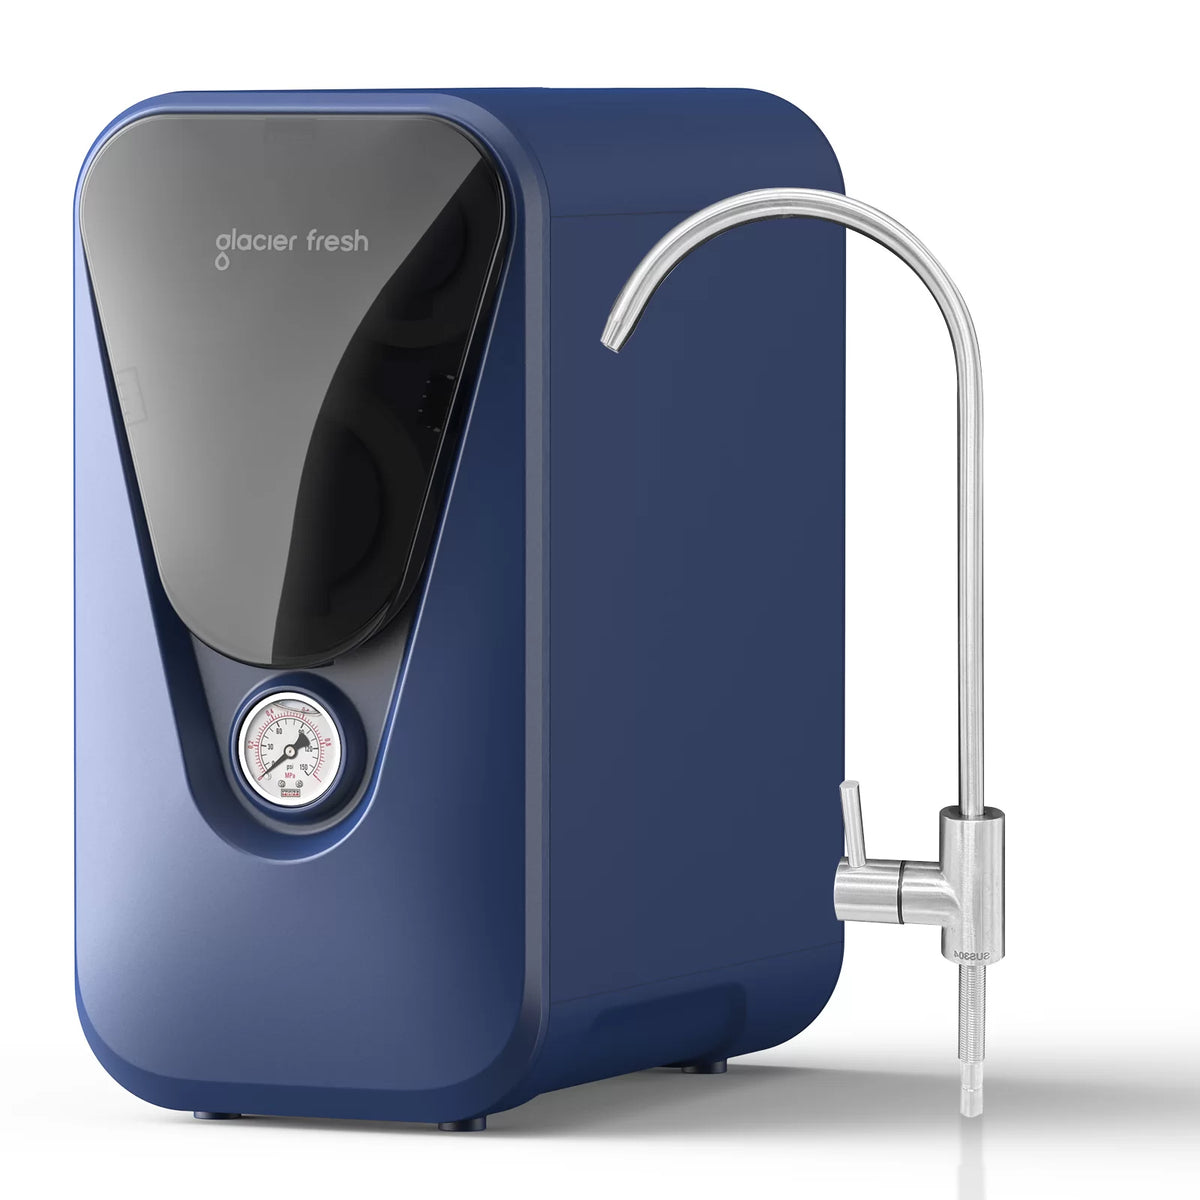
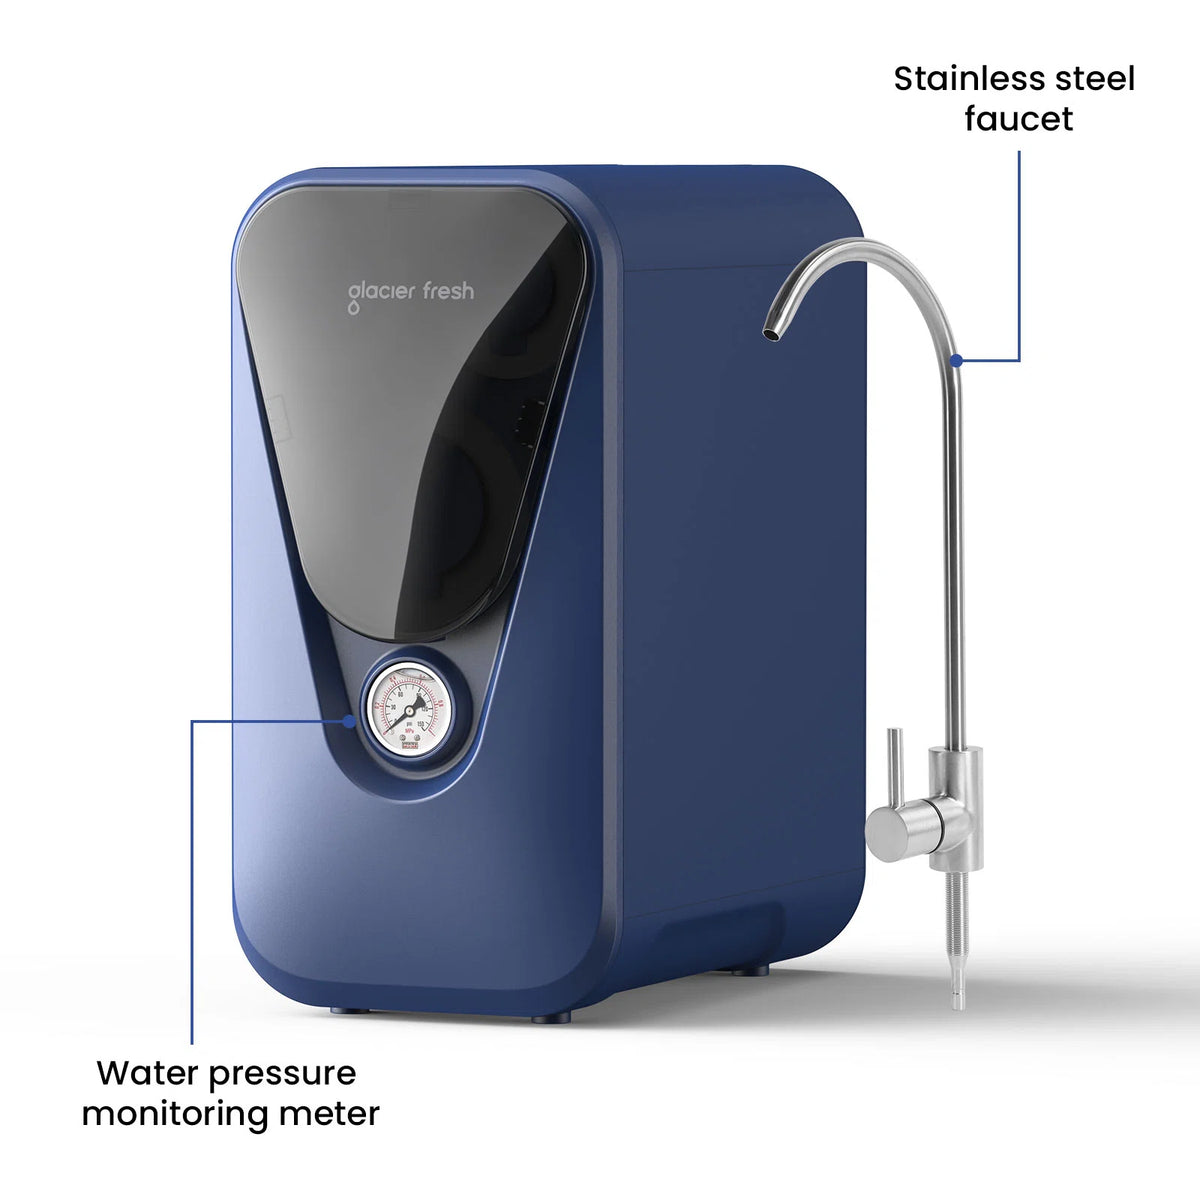
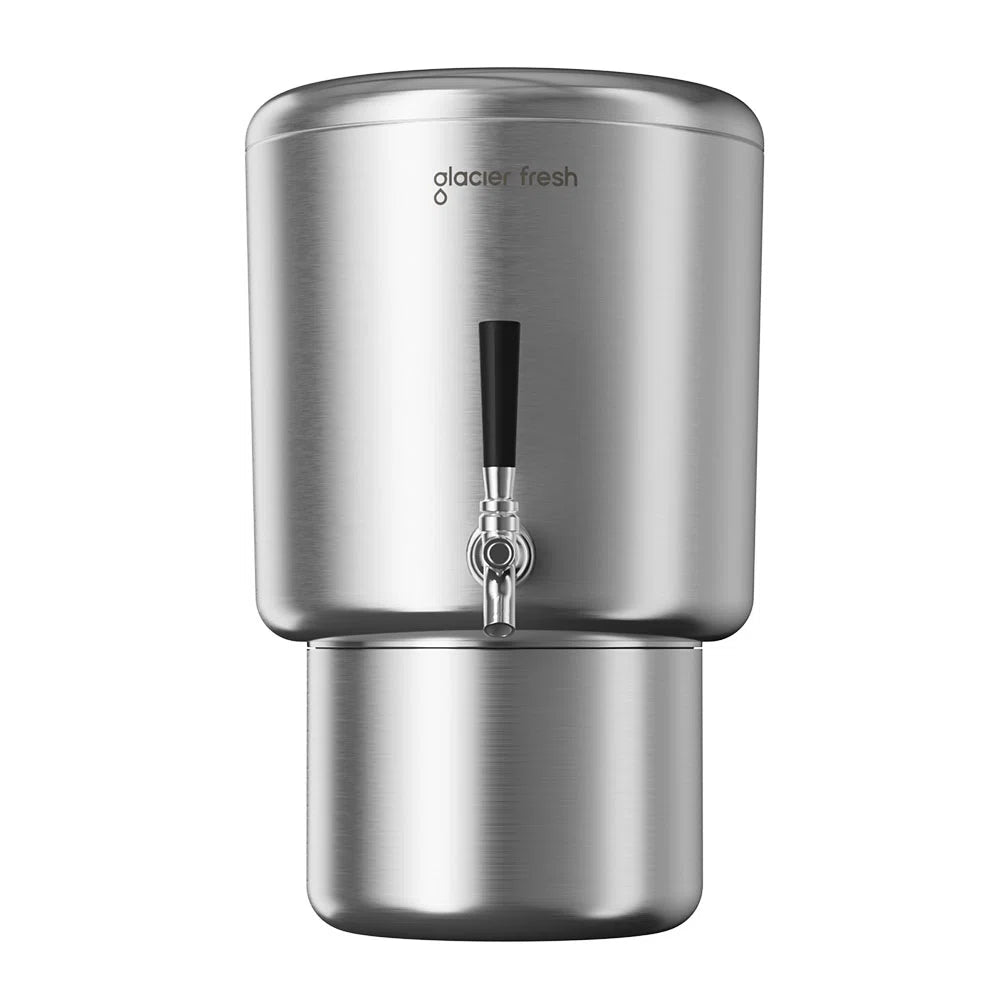
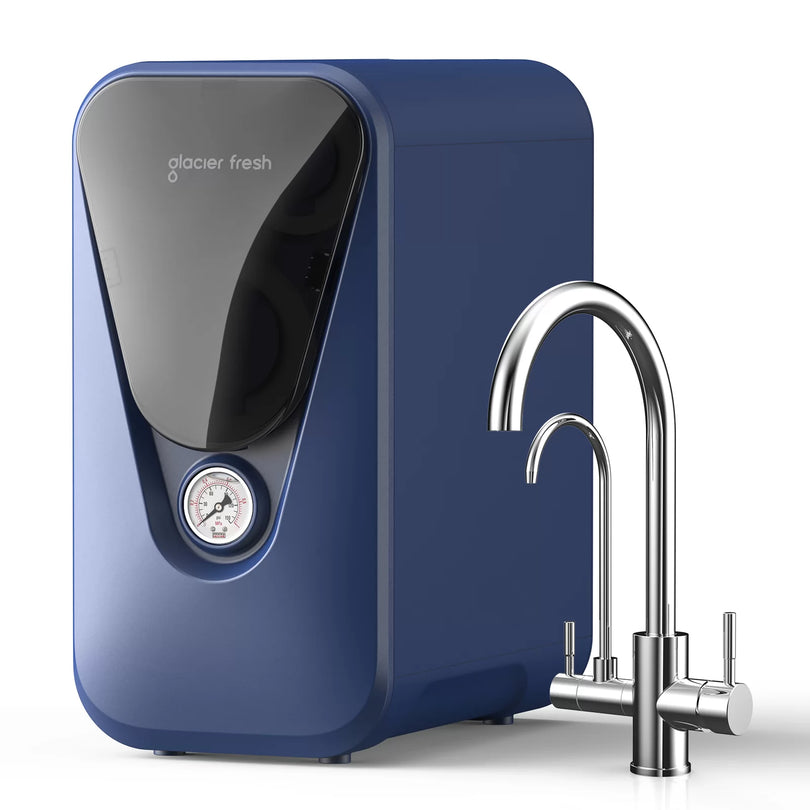
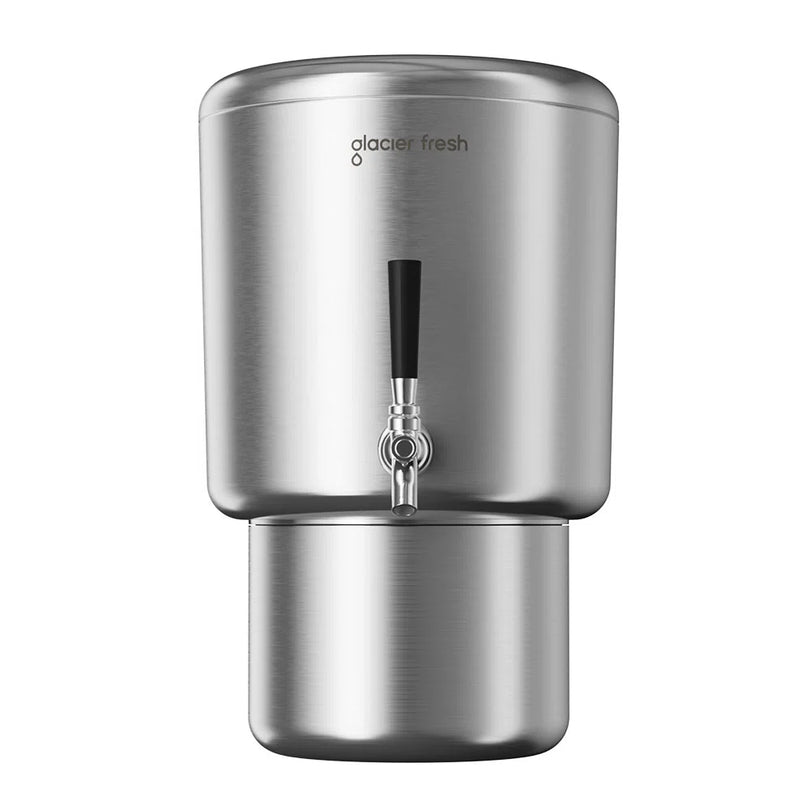
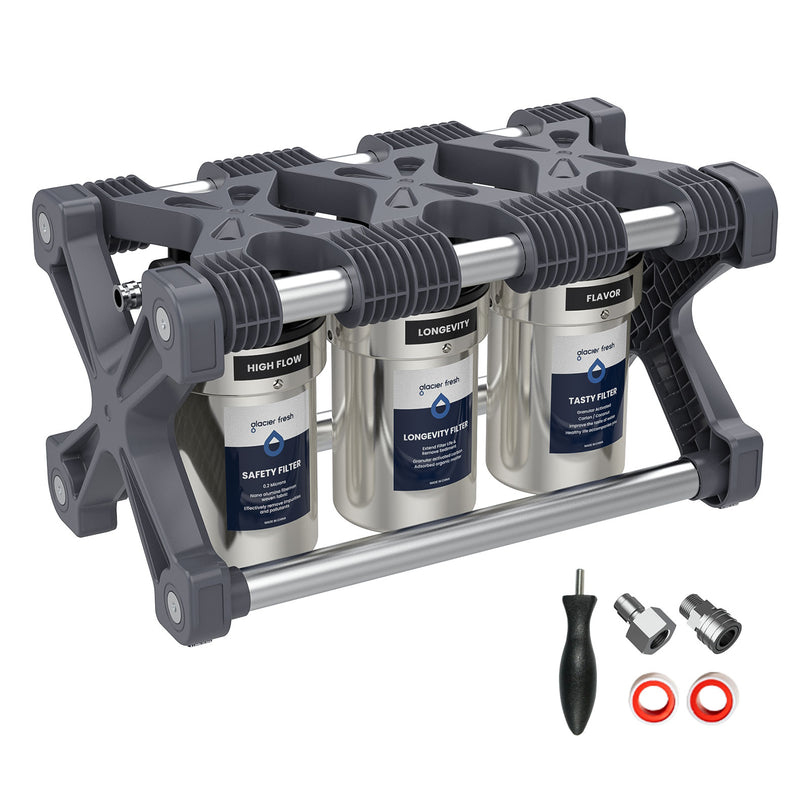
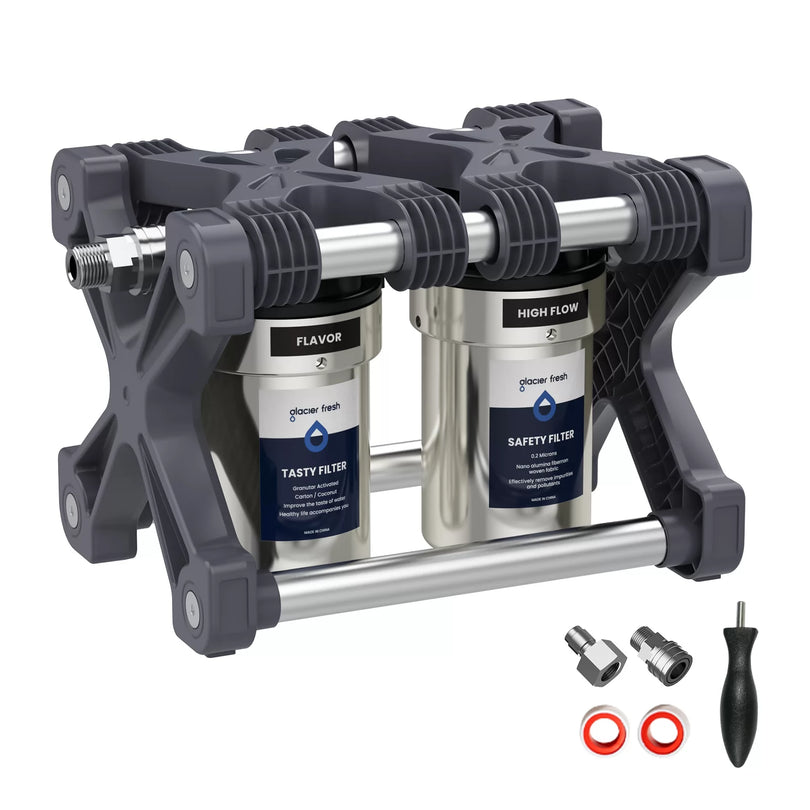
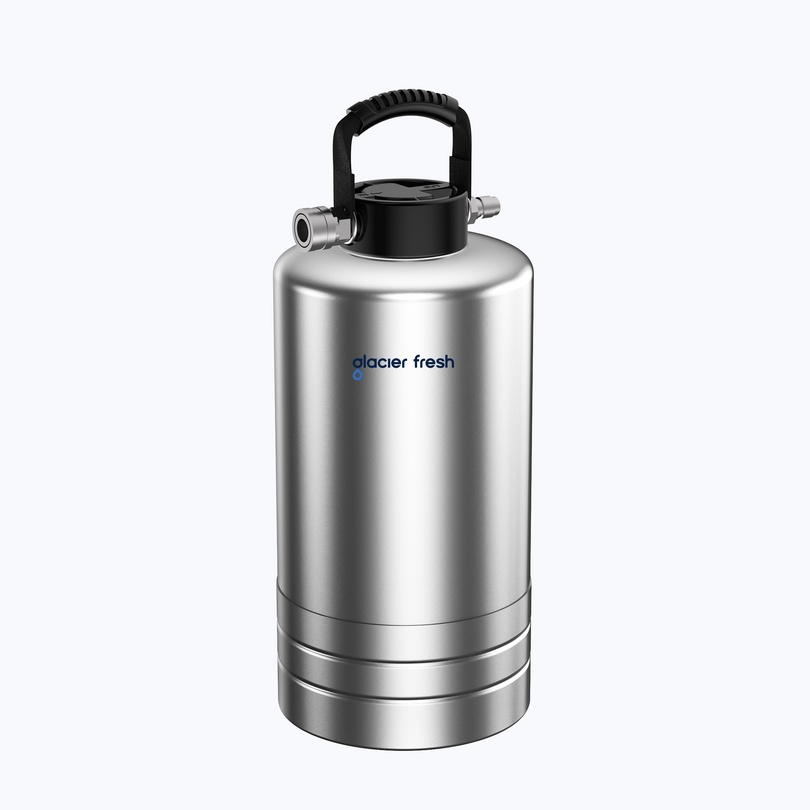
The GlacierFresh U03 Under Sink RO System is an option that we will recommend to make the experience easier. It has a compact design, 800G capacity, tankless structure, and a smart filter indicator, hence it is ideal to install at home. Its fast-fitting connectors make it easy, and its filters are easily replaced within seconds; no professional plumber is necessary.
Post-Installation Inspection
After installing your RO system, check all connections to see whether there are leaks. Pay attention to any kind of abnormal sound and make sure the faucet releases the water with ease. Operate the system for a couple of cycles so that the water can be used to drink or cook, to achieve maximum filtration.
Another useful feature of the GlacierFresh U03 Under Sink RO System is the ready-built smart indicator, which warns you about the need to change the filters, thus being a convenient way to maintain the right quality of water and the life cycle of the system.
Common Installation Mistakes to Avoid
Even simple DIY projects can go wrong if you overlook key steps. When performing RO system installation, avoid these common errors:
Skipping flushing: Always flush the system to remove any carbon fines or residues before first use.
Incorrect tubing connections: Pay attention to the color-coded lines to prevent leaks.
Ignoring Teflon tape: Wrap threads properly to prevent water seepage.
Forgetting filter orientation: Each filter has a flow direction; install them correctly for proper filtration.
This will spare you from future maintenance problems or the leakage of oil by taking the time to check every step.
How to Maintain and Replace RO Filters?

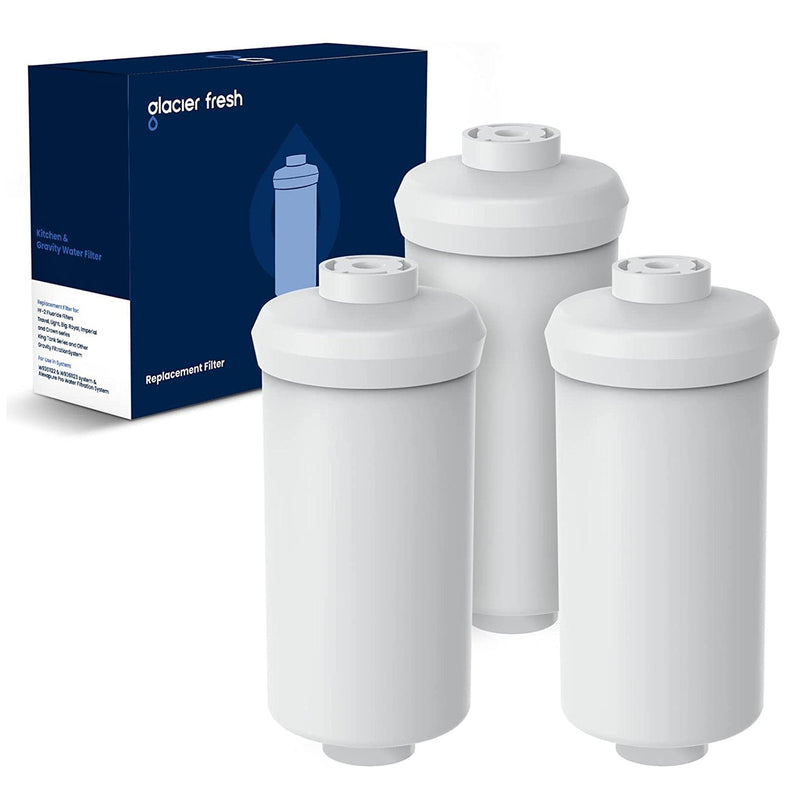
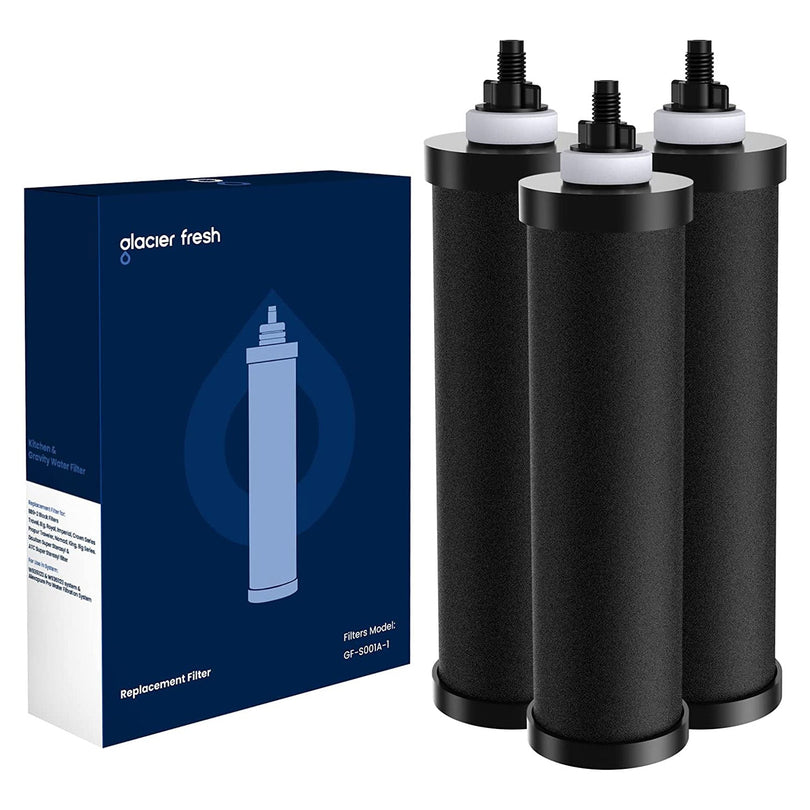
Consistency in the maintenance of your RO system is an assurance that your RO system will keep supplying clean water. Change sediment and carbon filters every 6 to 12 months, whereas the RO membrane normally has a lifespan of up to two years based on water quality and usage.
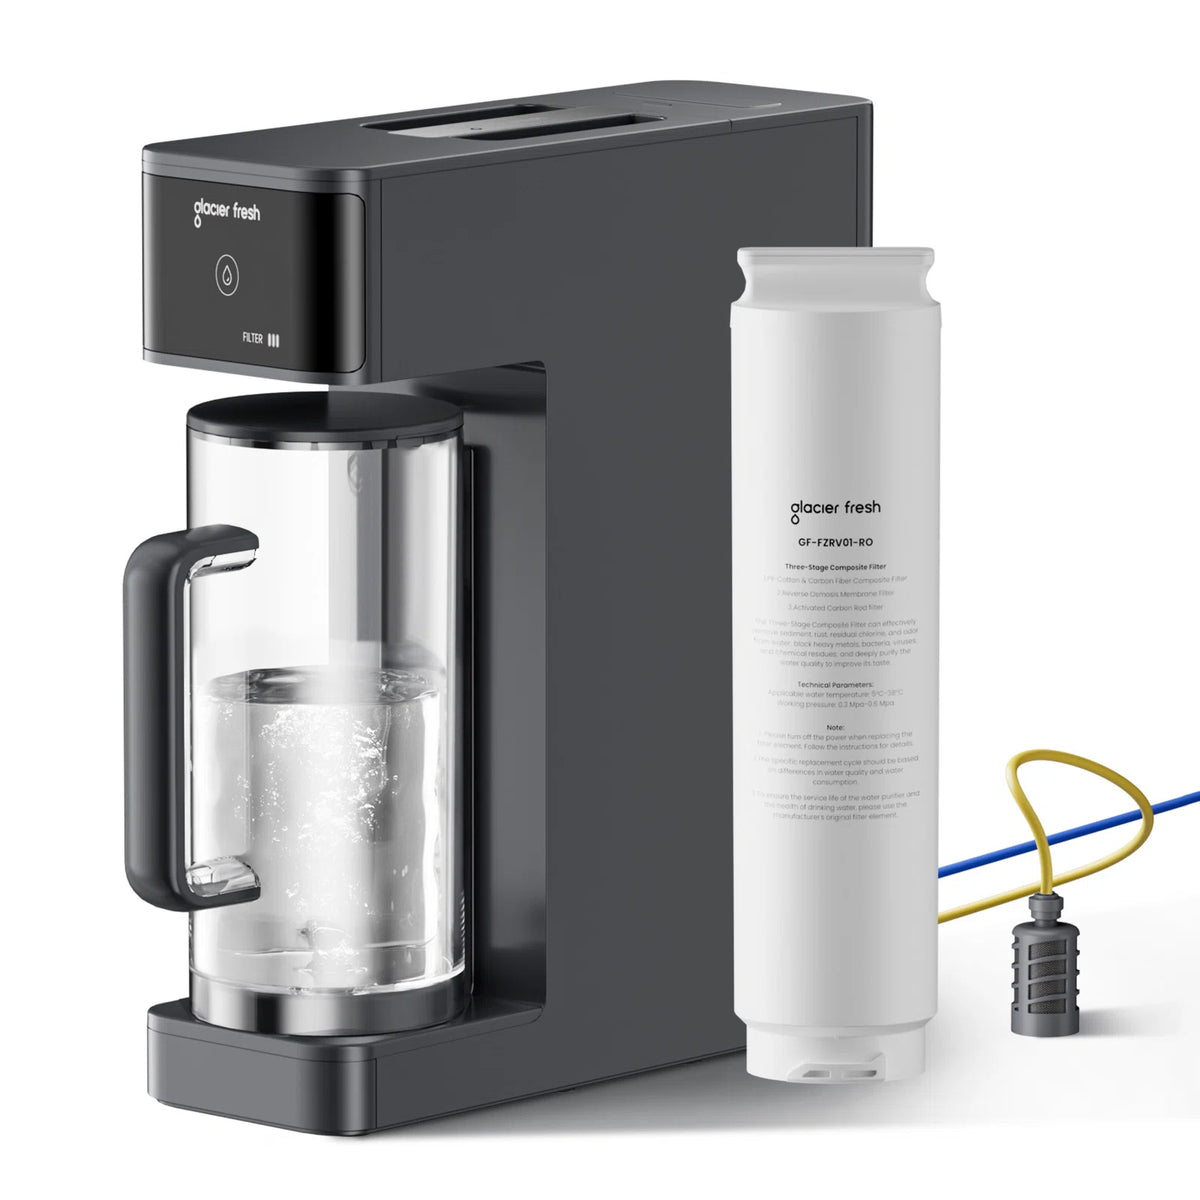
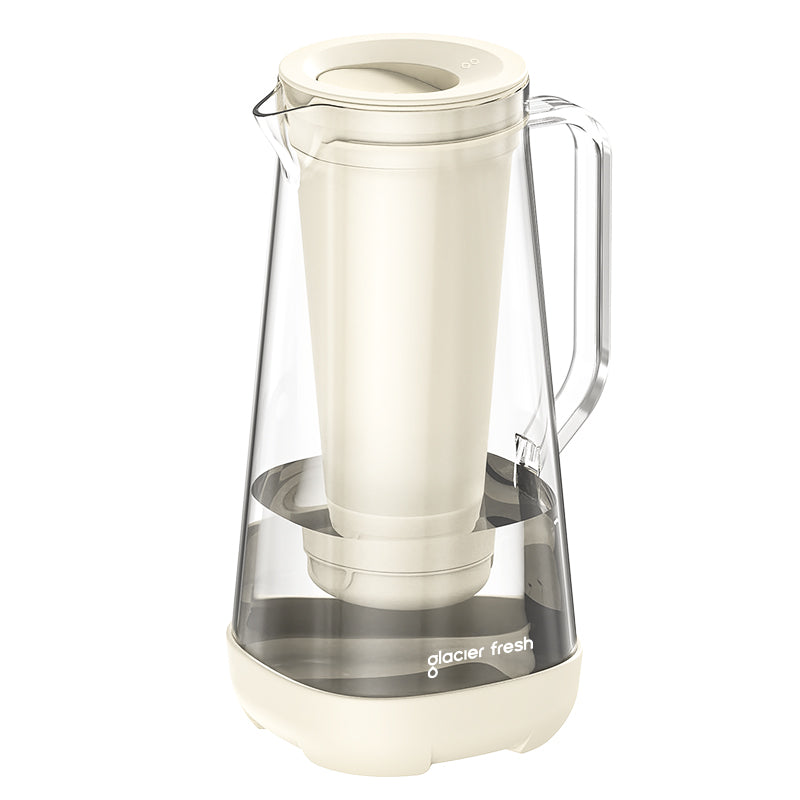
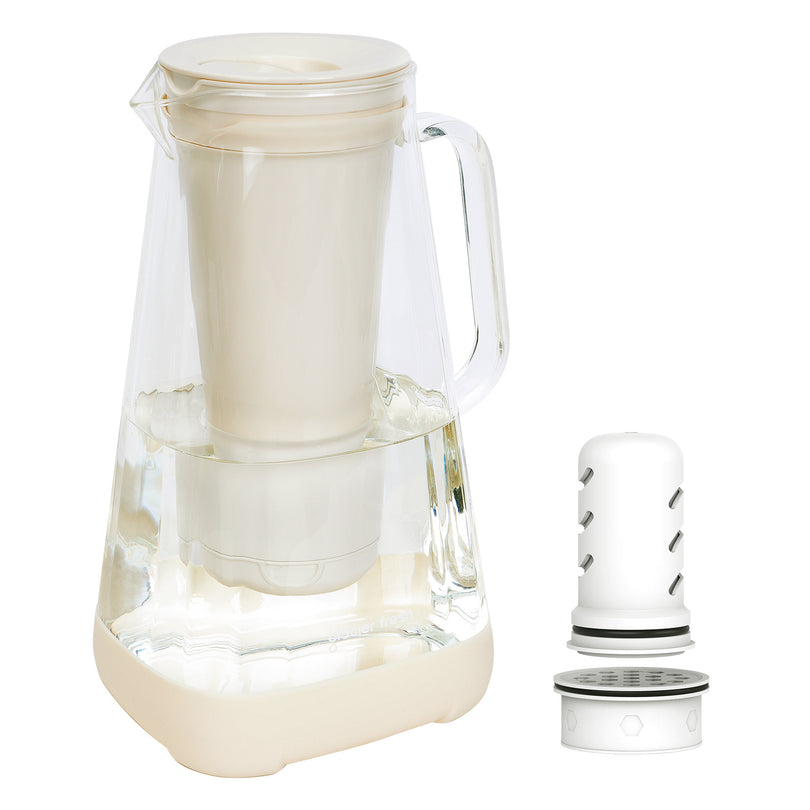
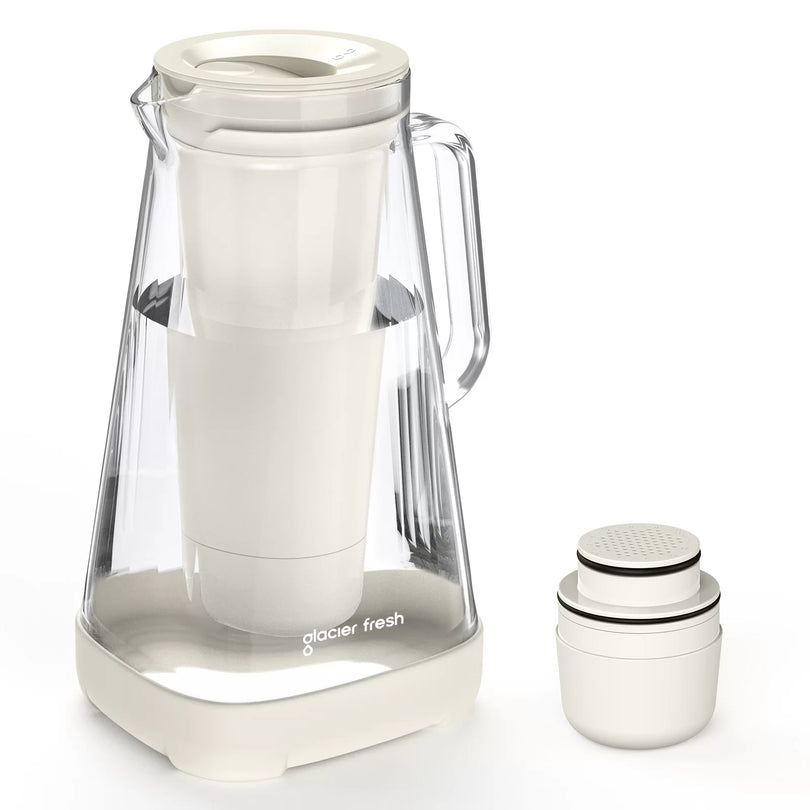
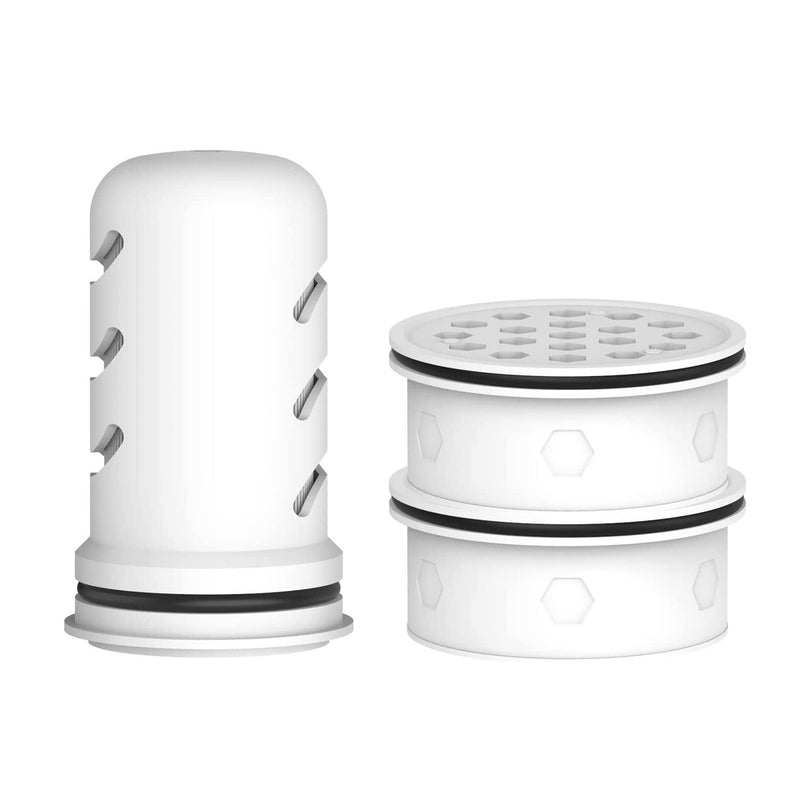
The PPC+C Filter Cartridge that fits the U03 system is what we would recommend. It is constructed in a way that it can easily be taken apart and reassembled in a twisting and locking manner, hence making it easy to maintain and therefore mess-free.
It is a multi-layered filter that filters out the chlorine, heavy metals, VOCs, and sediments. Regular change keeps water fresh, and it avoids congestion of your system so that your RO unit is used optimally.
FAQs
How does an RO system work?
It operates based on the forced passage of water through a semipermeable membrane, where the contaminants and the clean water are separated. The clean water is stored in a tank, and the waste is drained off.
How long does it take to install an RO system?
Typically, DIY RO system installation takes about 1–2 hours. With user-friendly systems like GlacierFresh, installation can be completed even faster.
How to replace a reverse osmosis filter?
Switch off the water pump, release pressure, change old filters, and place new ones in the same order. Flush the system before use. The replacement of the PPC+C filter is a fast and simple replacement, which can be completed in less than 5 minutes.
Conclusion
Installation of your own RO system can appear daunting, but with the right tools and direction, it is a rewarding project at minimal cost. You will have the convenience of having safe, crisp, and refreshing water straight from the tap without the inconvenience of getting bottled water.
Whether you are renovating a room in your house or installing a new kitchen, a good system like the GlacierFresh U03 Under Sink RO System ensures long-term performance and effortless maintenance. Pair it with the PPC+C Filter Cartridge for continuous filtration efficiency.
A well-done RO system installation not only enhances your water quality but also brings you peace of mind, marking a small step toward a healthier, more sustainable life.