


Table of Contents:
What to Know Before Installation
What Tools Are Needed to Install a Reverse Osmosis System
How to Install a Reverse Osmosis System
How to Start Up and Test Your New RO System
How to Maintain a Reverse Osmosis Filtration System
Conclusion
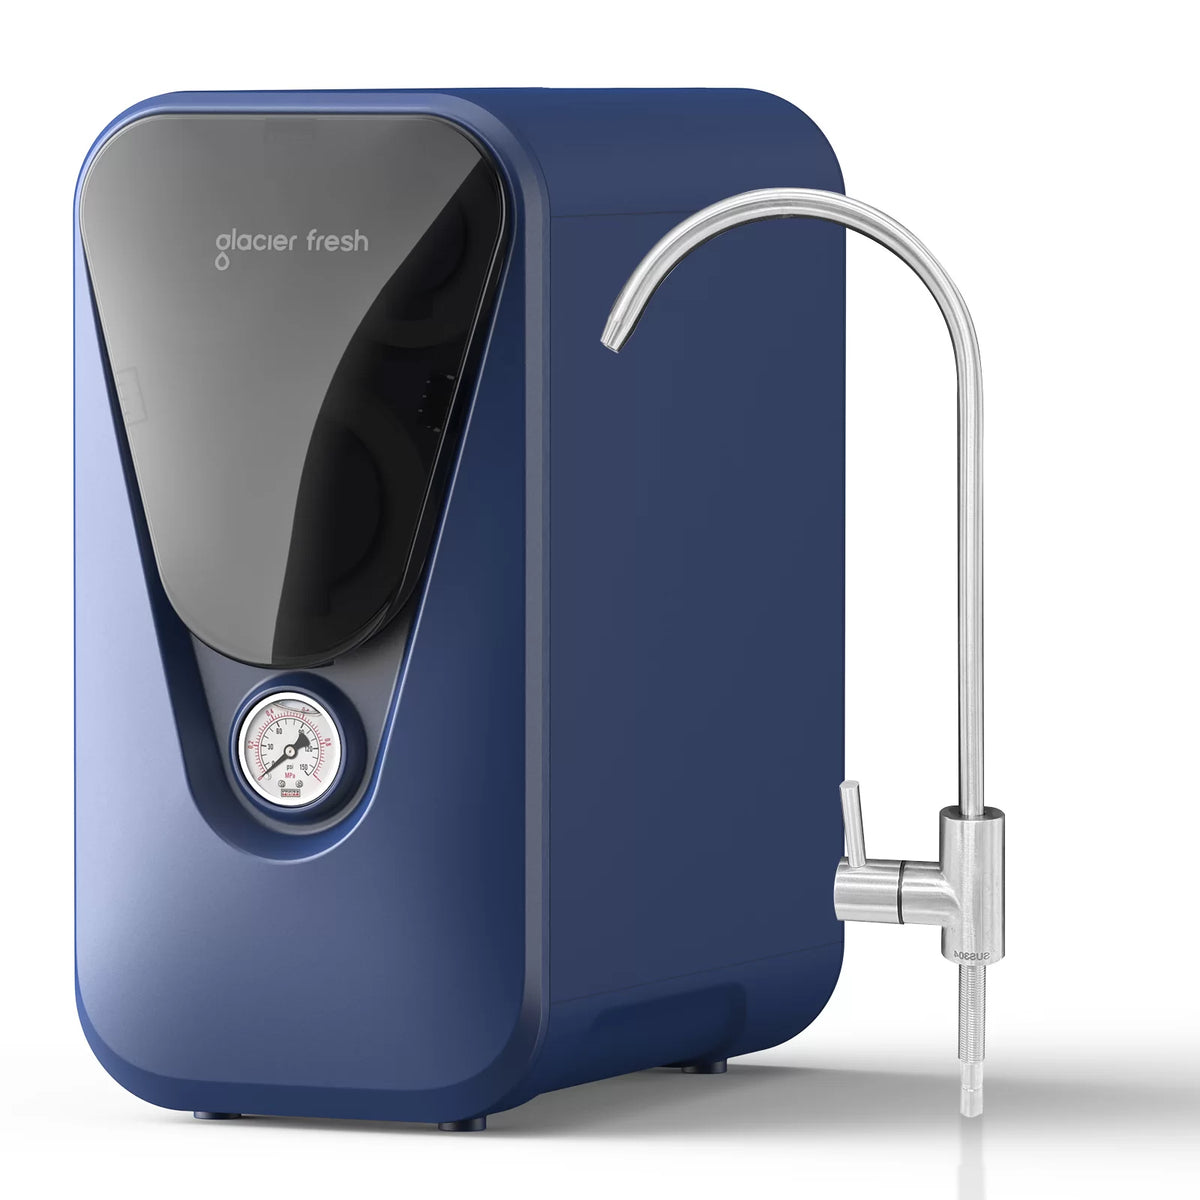
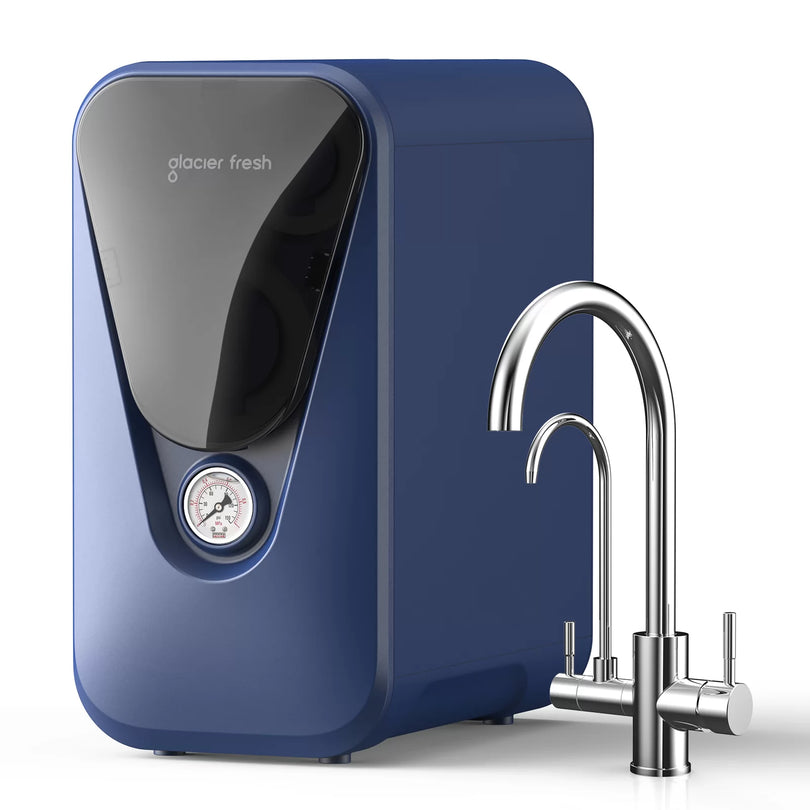
The Reverse Osmosis (RO) water system will give you and your family clean, safe, and great-tasting water. It safely removes impurities, chemicals, and toxic contaminants. RO systems also aid in enhancing health through the supply of purified water daily. Having a RO system in the house is convenient, economically viable in the long run, and ensures the quality of the water. This article will discuss how to install a RO water filter system. Let's dive in.
What to Know Before Installation

It is important to test the quality of your water to ensure TDS, contaminants, and compatibility with reverse osmosis filtration before installing an RO system. RO purification is most helpful to high TDS water (more than 500 ppm), and low TDS water can become excessively mineral-stripped. Make sure your water pressure is sufficient, usually 40 to 100 psi, to get effective RO.
You need to measure the area under your sink or in the place you would like to have the multi-stage water filter, storage tank, and any additional tubing. In addition, include recurring expenditures such as changing filters and membranes, and maintaining the system in its best working conditions.
What Tools Are Needed to Install a Reverse Osmosis System
Assembling the correct tools beforehand guarantees an easy installation process and eliminates delays or expensive errors in the process of setting up your RO system. Such as:
-
Tape measure
-
Adjustable wrench
-
Drill
-
Phillips head screwdriver
-
Level
-
Channel lock prs
-
Hacksaw
-
Appropriately sized drill bits
-
Teflon (plumber's) tape
How to Install a Reverse Osmosis System

This is a step-by-step procedure on how to install a RO system to have safe and clean water.
Clean Space and Turn Off Water
Take everything out under the sink so that it is accessible. Turn off the cold water supply valve, open the faucet fully, and then begin work when there is no water pressure left in the system.
Select or Drill Faucet Hole
Select a sinkhole that is already in place or drill a new one following the instructions of the manufacturer. Do not crack surfaces underneath, and make sure that the hole size is as big as the stem of your RO faucet.
Install RO Faucet
Push the faucet stem into the hole that is prepared. Fasten using the given mounting hardware. Place the tubing down through the hole to connect later, making sure it is not kinked.
Install Drain Saddle or Drain Connection
Put the drain saddle on the sink drainpipe above the trap. Make a hole and align it with the opening of the saddle, and clamp it to ensure water does not leak when in use.
Connect Feed Water Adapter Valve
Disconnect the cold water riser from the shut-off valve. Firmly connect the feed water adapter valve. Reconnect the riser and seal all threaded joints with a plumber's sealant tape to make them tight.
Tubing Connections
Connect the feed adapter to pre-filters, RO units, storage tanks, faucets, and drains using the color-coded tubing diagram. Make sure that there are no gaps in the connections.
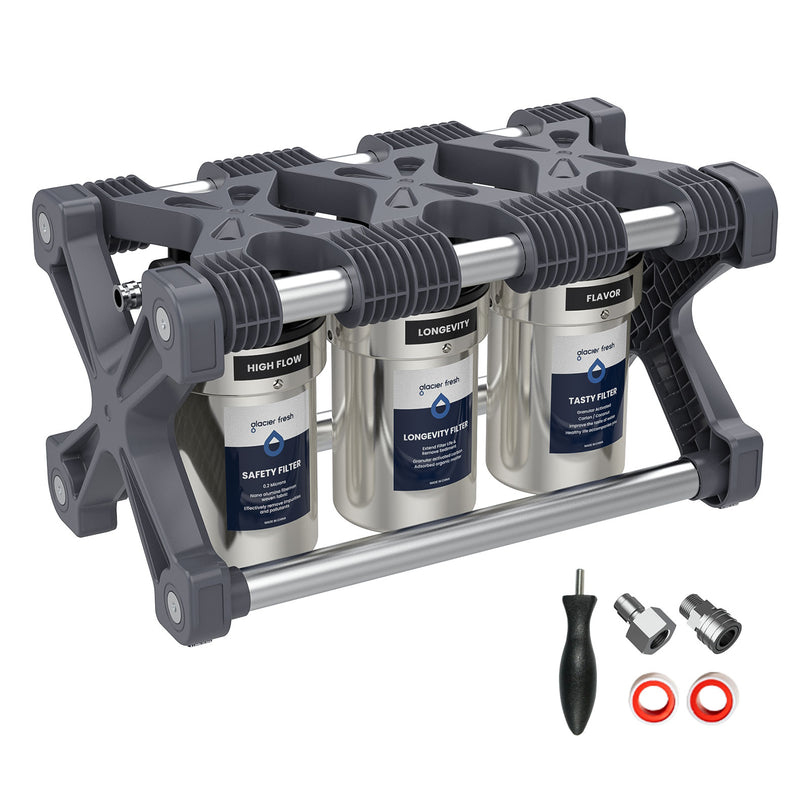
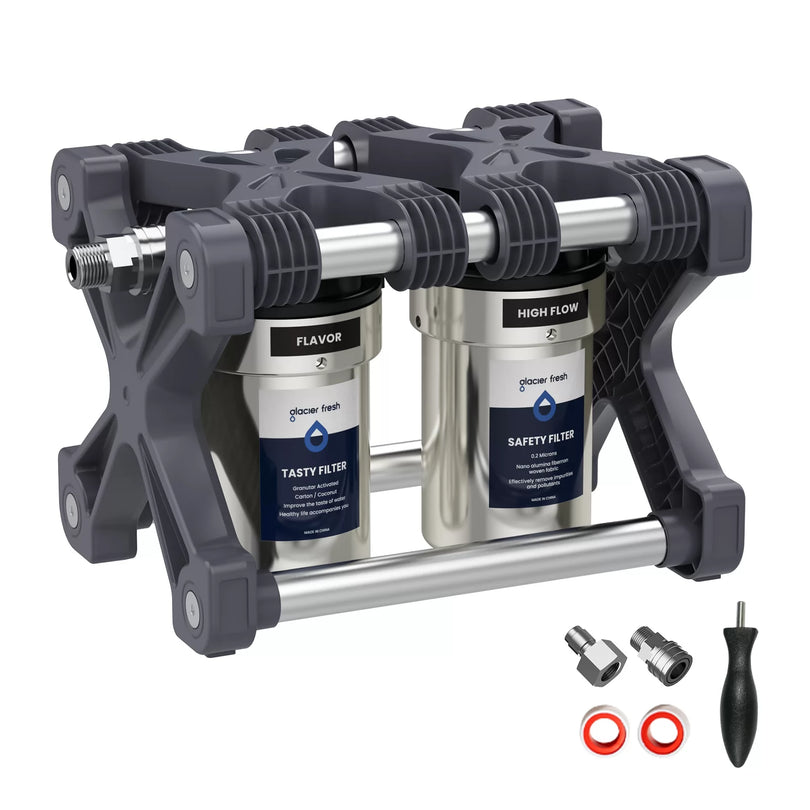
Mount System Parts
Secure the RO filter assembly under the sink by using the bracket provided. Place the storage tank close by and have enough space to replace the filters in the future and perform simple maintenance.
Pressurize & Flush System
Turn the cold water supply valve on gradually. Open the RO faucet to get rid of trapped air. Let water run through, flushing the entire system and inspecting all connections to make sure that there are no leaks.
Final Checks
Check every connection to make sure it is drip and leak-free. Pay attention to unusual sounds. Make sure all the fittings are tight before assuming the installation is complete and that the system is producing clean and great-tasting water.
How to Start Up and Test Your New RO System
Here's how to start up and test your new RO system.
Flush System
Close the faucet and tank and open the feed water supply valve. Gradually pressurize, test for leaks, and open faucet to air out and flush 10-15 minutes.
Fill and Drain Tank
Fill the tank by opening the valve. When full, open the faucet to drain. Do this fill and drain process at least three times prior to normal use.
Pressurize Slowly
Slowly open the cold water supply. Look out for leakages, tighten connections where necessary, and listen to strange sounds when pressure is building up.
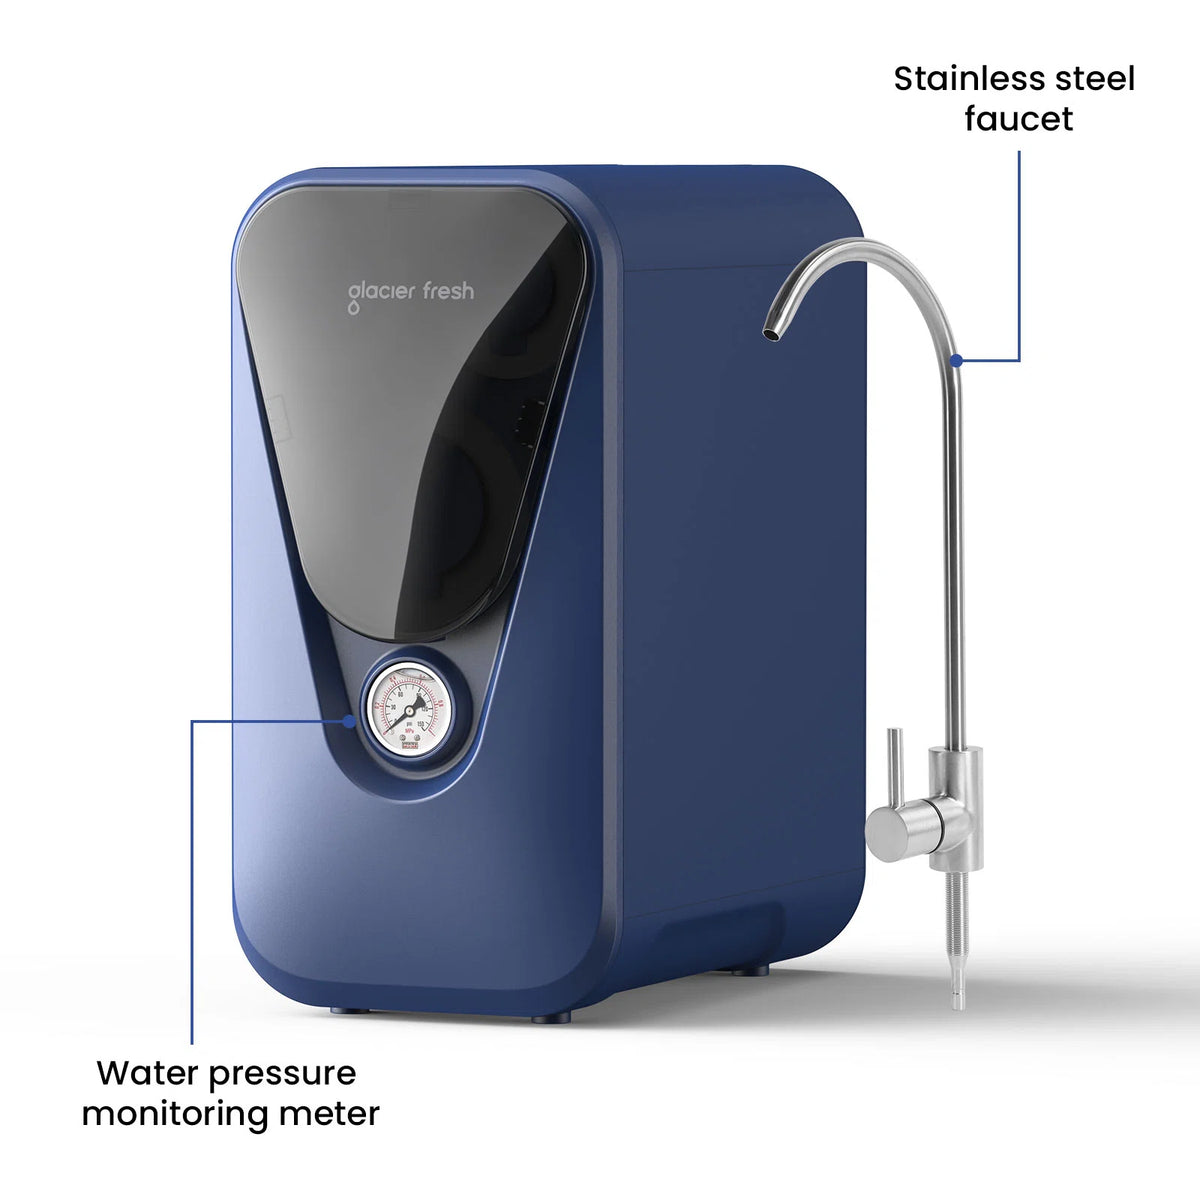
Check Tank Pressure
When the tank is empty, check the air pressure with a tire gauge. Keep between 5-7 psi to have the best RO system performance.
Test Flow Rate
With the tank shut off, turn on the faucet for 60 seconds. Measure the water gathered to ensure there is proper membrane operation and flow.
Record Benchmarks
Check log pressure, flow, and conductivity during the initial 24-48 hours to determine a performance baseline to be used in future system checks.
Return to Normal Use
Divert the permeate flow to the faucet, put it in automatic mode, and start to use clean and great-tasting RO water with confidence.
How to Maintain a Reverse Osmosis Filtration System

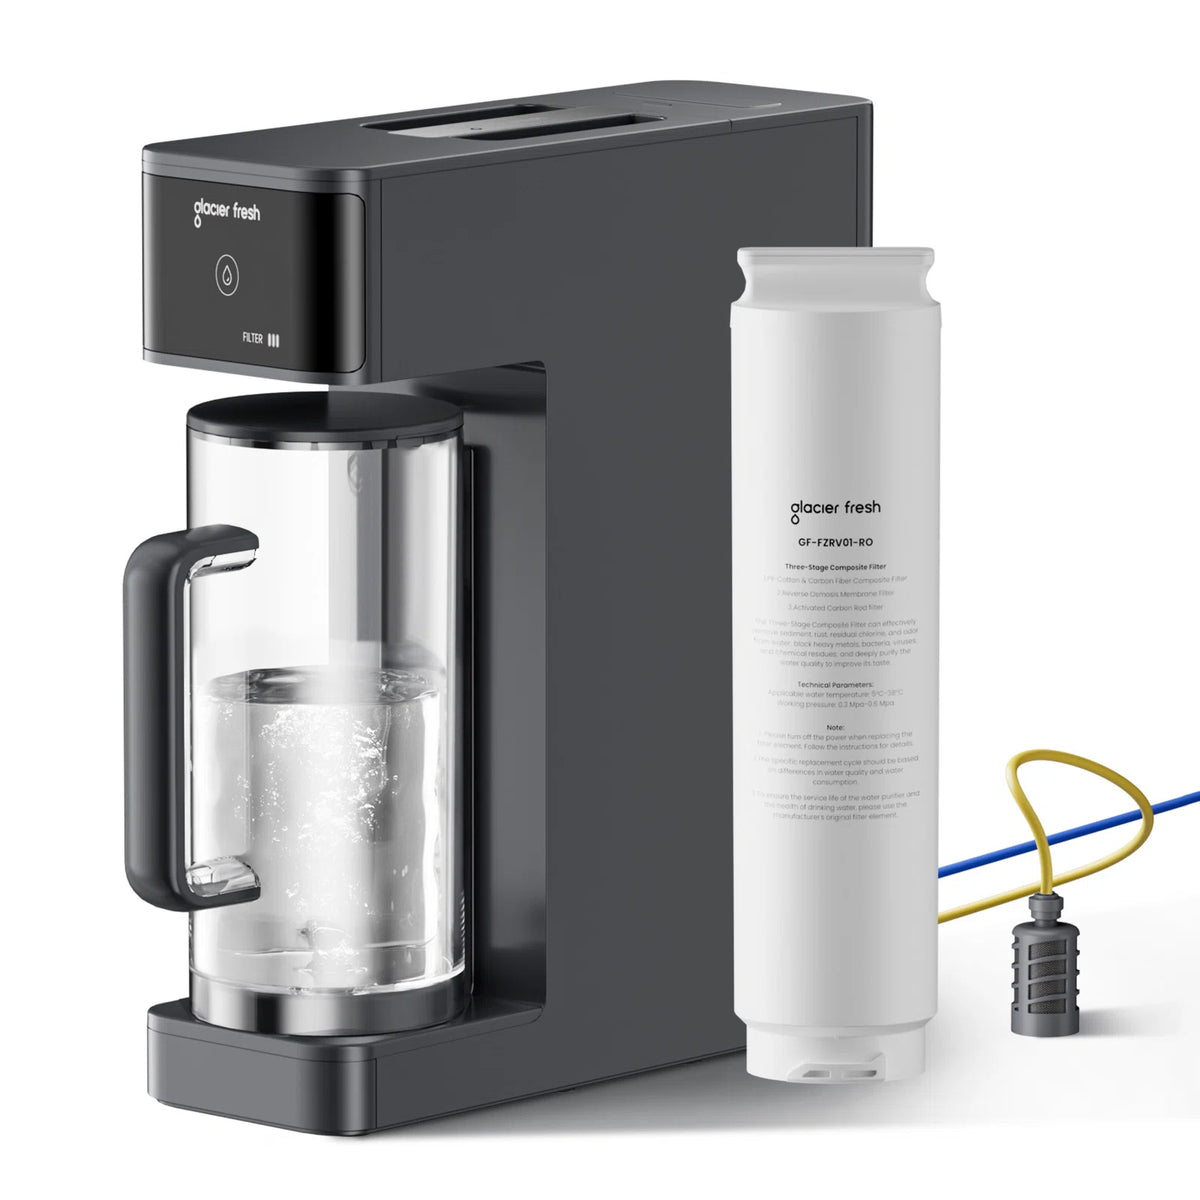
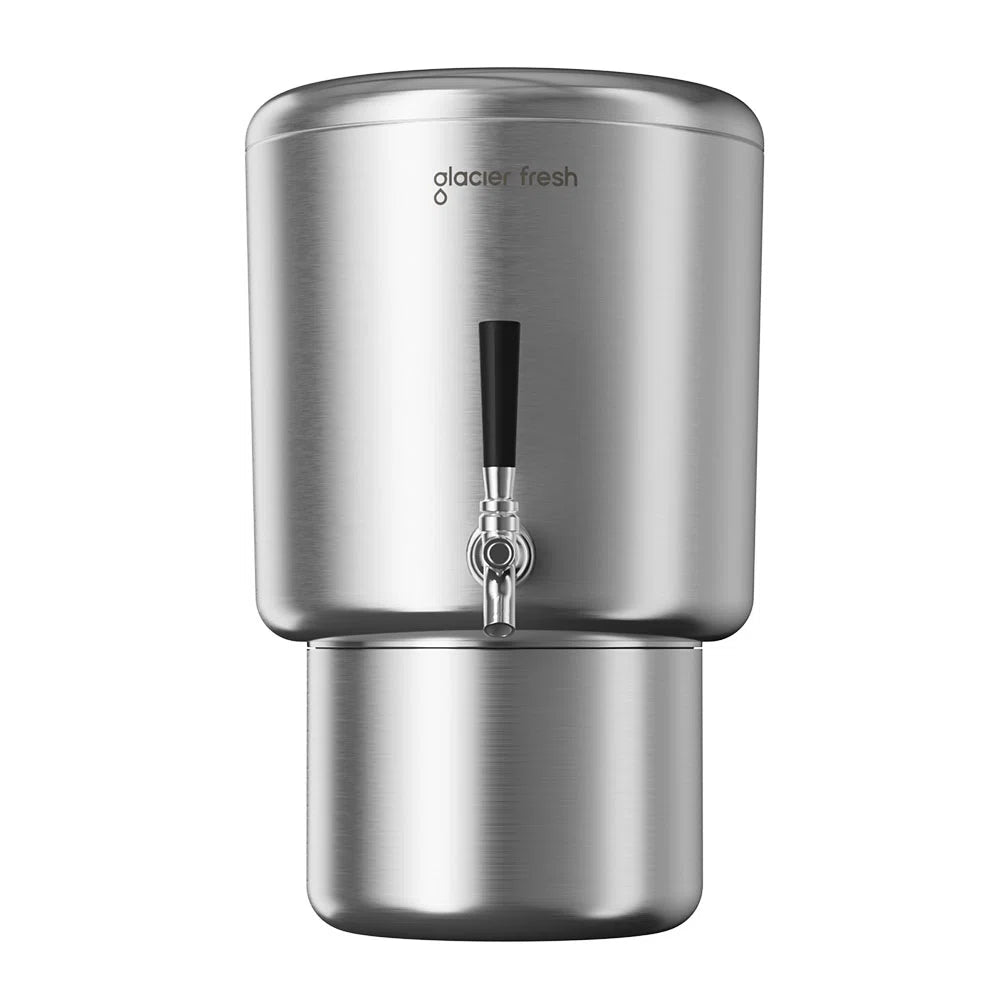
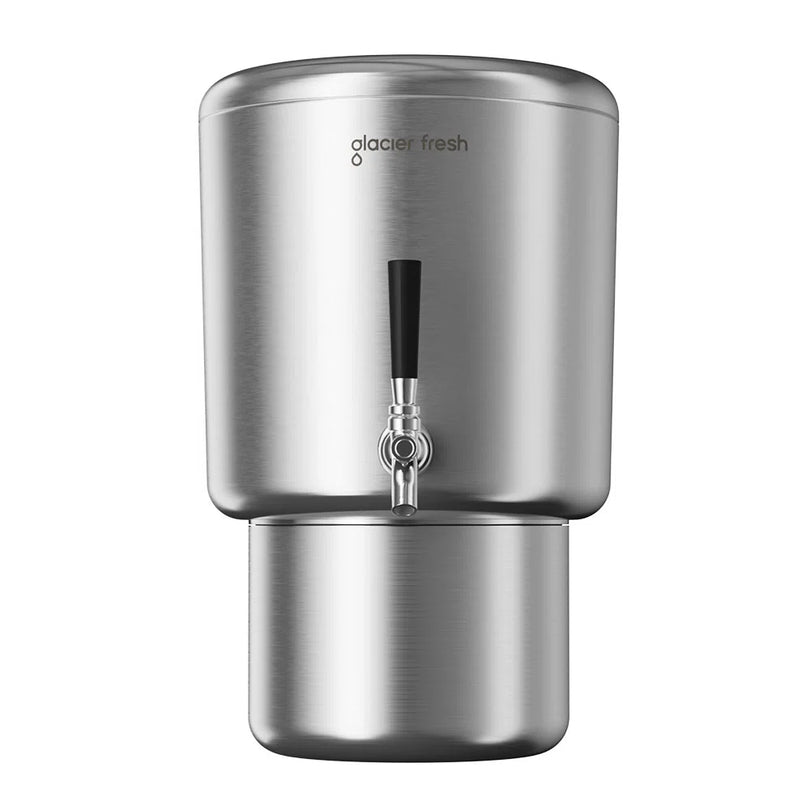
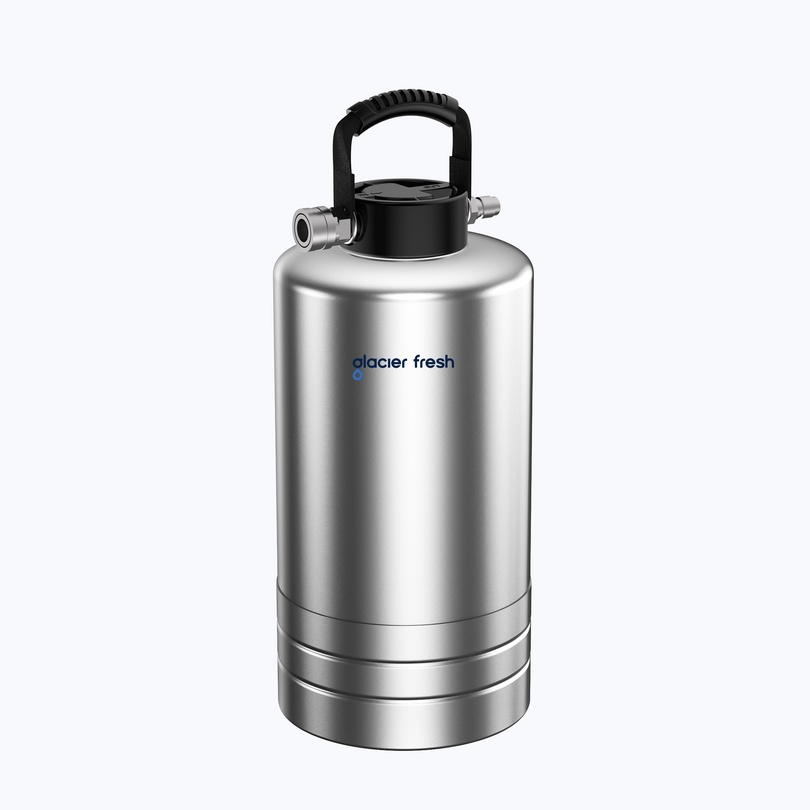
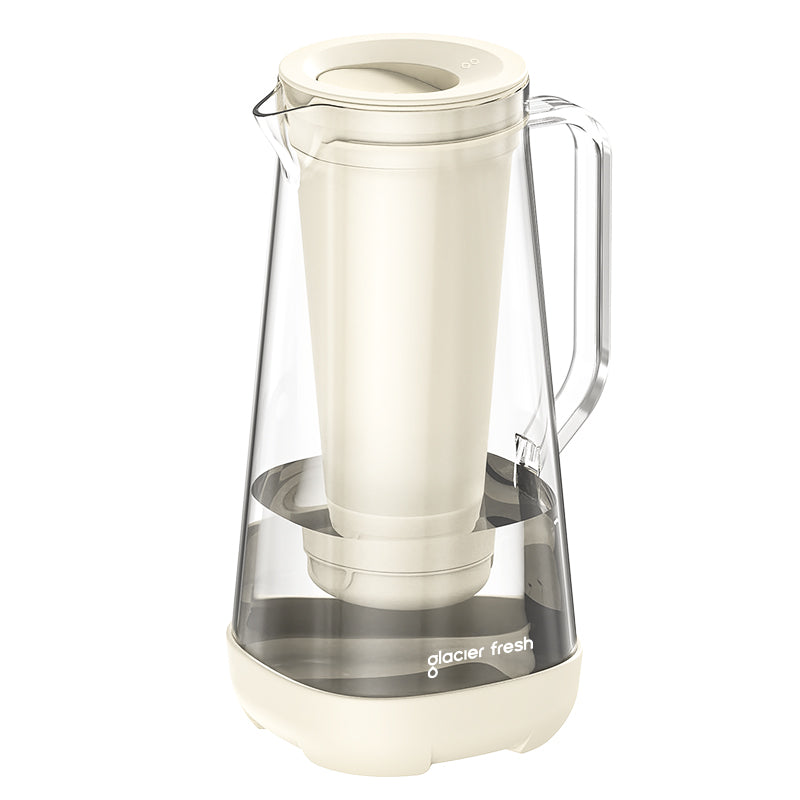
The routine care of your RO system, like the Glacierfresh Reverse Osmosis System, keeps it running at its best and increases its life span. Here's how to maintain a RO filtration system.
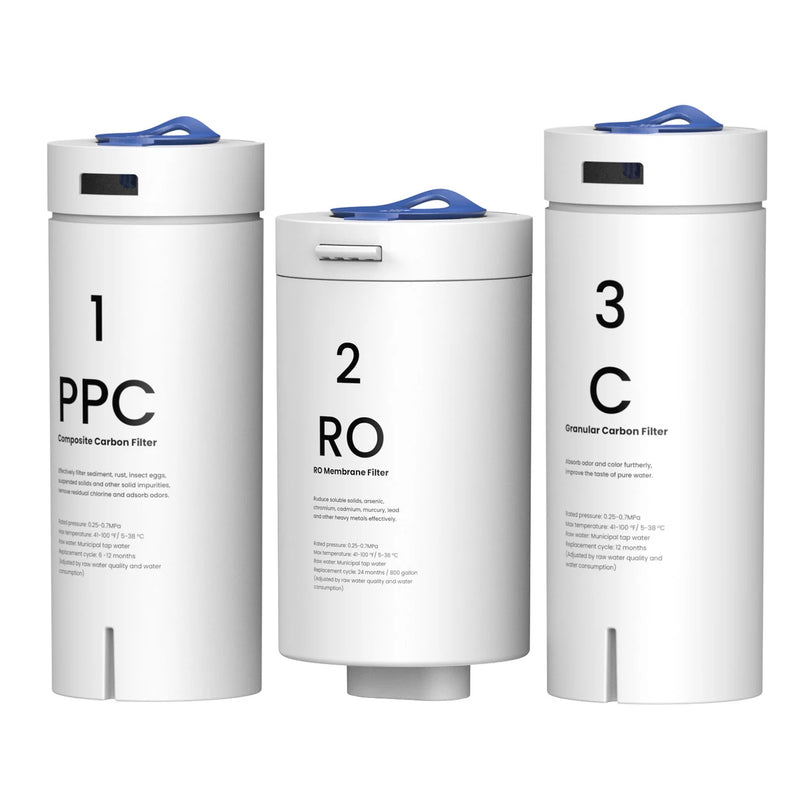
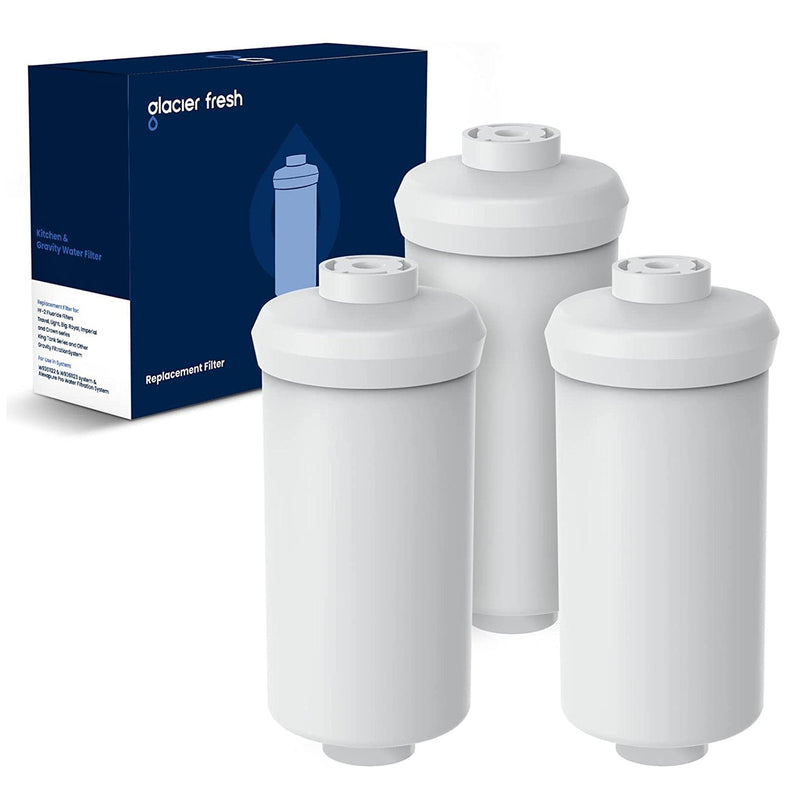
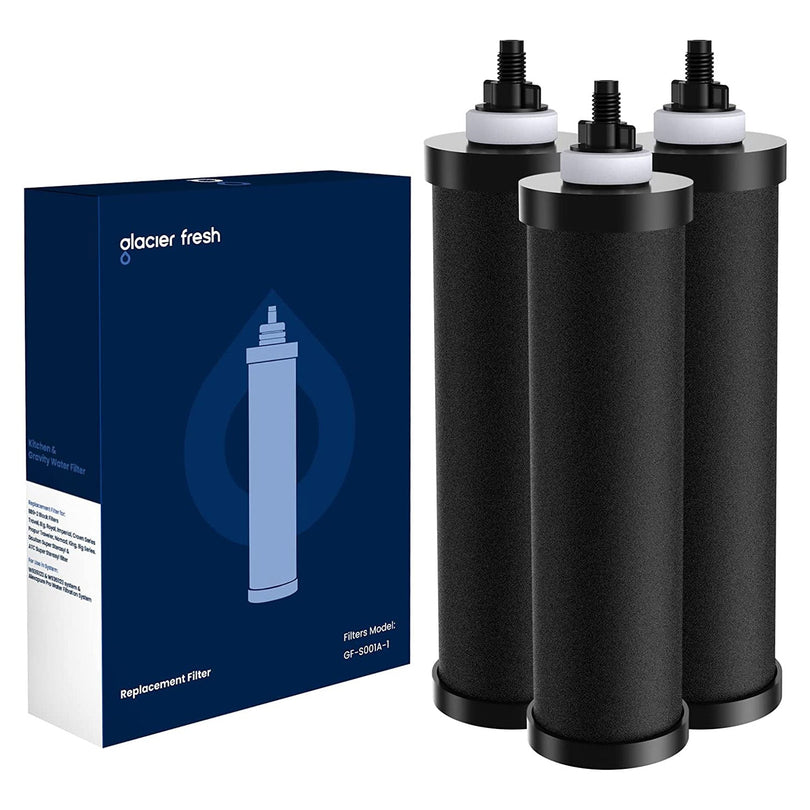
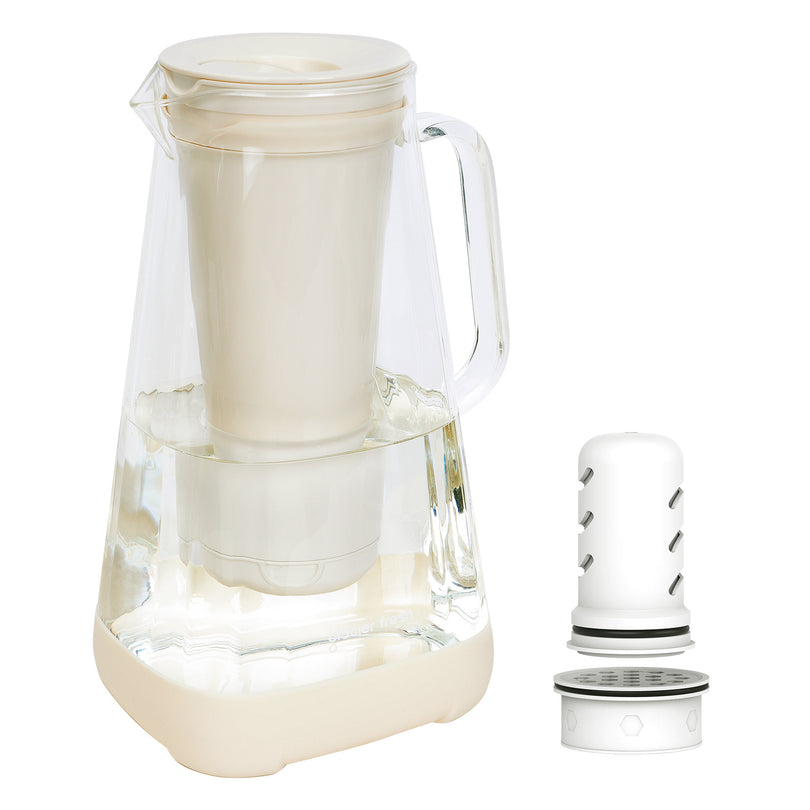
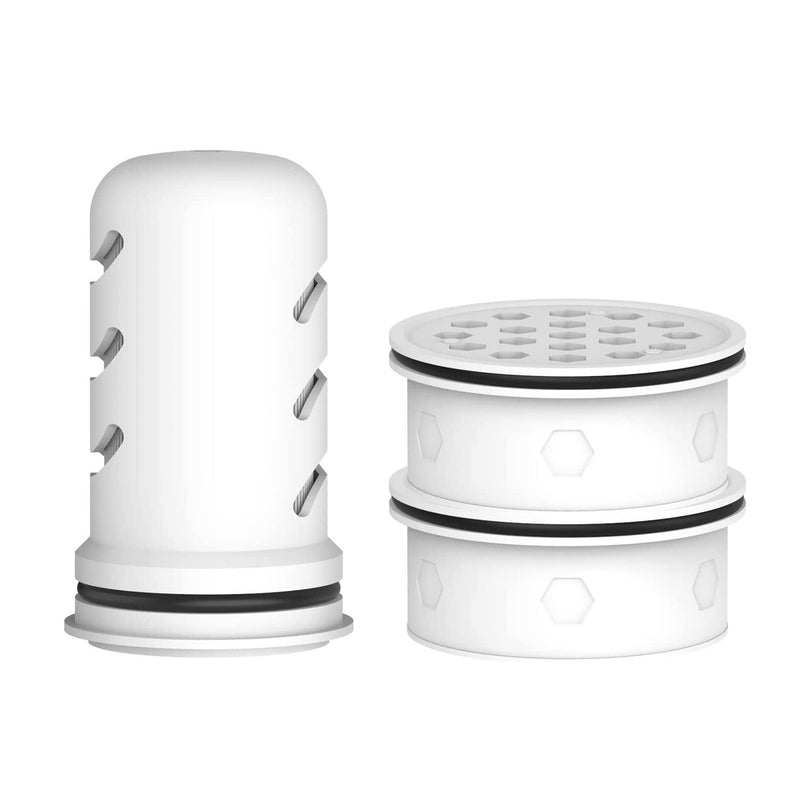
Replace Filters and Membrane
On your Glacierfresh RO System, you should change pre-filters every 6 to 12 months and post-filters every 12 months. It is recommended to replace the RO membrane every 2-4 years to ensure maximum efficiency and water quality.
Drain Storage Tank
Replenish the Glacierfresh RO storage tank after 2 weeks to keep it fresh and to avert bacterial growth. Correct draining maintains the pressure of the system at an optimum level and the quality of water at a constant level.
Sanitize System
Clean your Glacierfresh RO System yearly with a sanitizer approved. This cleans off biofilm and contaminants so that your water remains pure and the system is operating efficiently.
Check Water Quality
Periodically observe the taste, smell, and clarity of your Glacierfresh RO system water purifier. Any variations could be a sign of a clogged filter or membrane and a maintenance problem.
Leakage Check
Check all fittings, filters, and the Glacierfresh RO storage tank once a month. Repair leaks as soon as possible to avoid damage to the system and ensure reliable and uninterrupted operation.
Pre-Treat Feed Water
When your water is hard, install a water softener in front of your Glacierfresh RO System. This eliminates the buildup of scale, membrane protection, and enhances the efficiency of the filtration process.
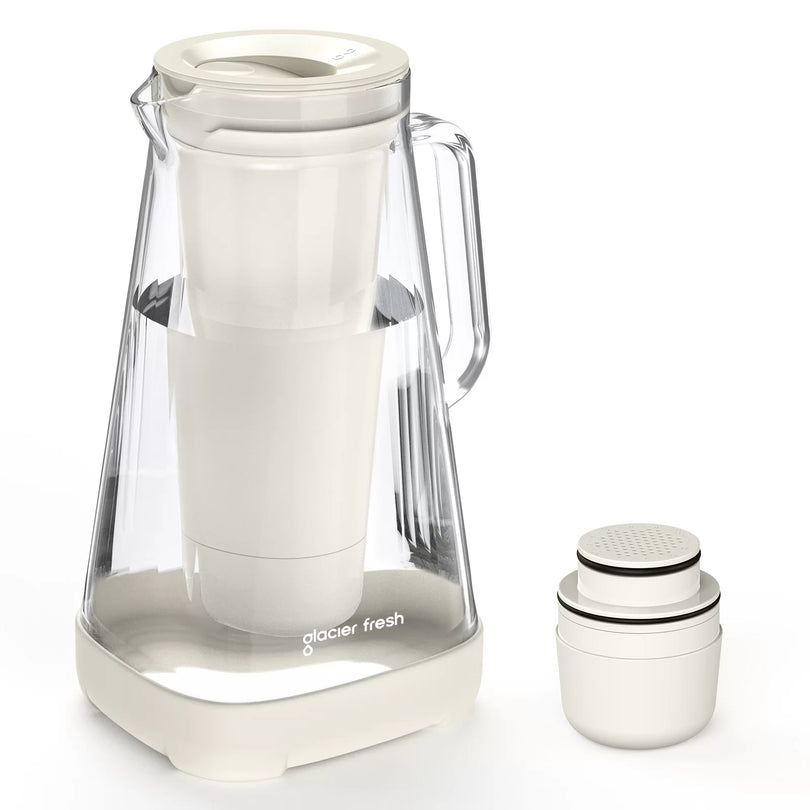
Replace Faucet Filter
Certain Glacierfresh RO Systems have a post filter at the faucet. Change it once a year to obtain the best possible taste, clarity, and safe drinking water.
Conclusion
A reverse osmosis water system will provide safe, clean, and delicious water for everyday household use. Correct installation and filter change extend the life of the system. Regular maintenance makes the system efficient and reliable.
Related reading:
Does Drinking Hot Water or Cold Water Help Acid Reflux
Is Reverse Osmosis (RO) Water Safe and Healthy to Drink?
Is It Safe to Use a Reverse Osmosis System for Drinking Well Water?