
Table of Contents:
Why Is It Important to Test the Water at Home and Outdoors?
Why DIY Testing Is the First Step?
How to Check Your Home Water Quality in 4 Steps
What to Do Next: Understanding Your Water Test Results
FAQs
Conclusion
Just because water looks clear doesn't mean it's absolutely safe. Whether you're drinking tap water or well water at home, or drinking from a stream while camping, testing water quality is an essential step. We'll explain how to DIY water testing at home and outdoors, as well as when it's necessary to send a sample to a lab for testing.
Why Is It Important to Test the Water at Home and Outdoors?

Clear water is not always safe water. Many contaminants are invisible, and a short screening routine can help residents test and ensure their tap water is safe to drink before taste, odor or plumbing damage becomes obvious.
- Municipal Water: treatment plants monitor water quality, but lead or copper can still enter water from old service lines, solder or household plumbing.
- Well Water: well water is not filtered like municipal water, so it may contain large amounts of bacteria or PFAS carried in by rainwater.
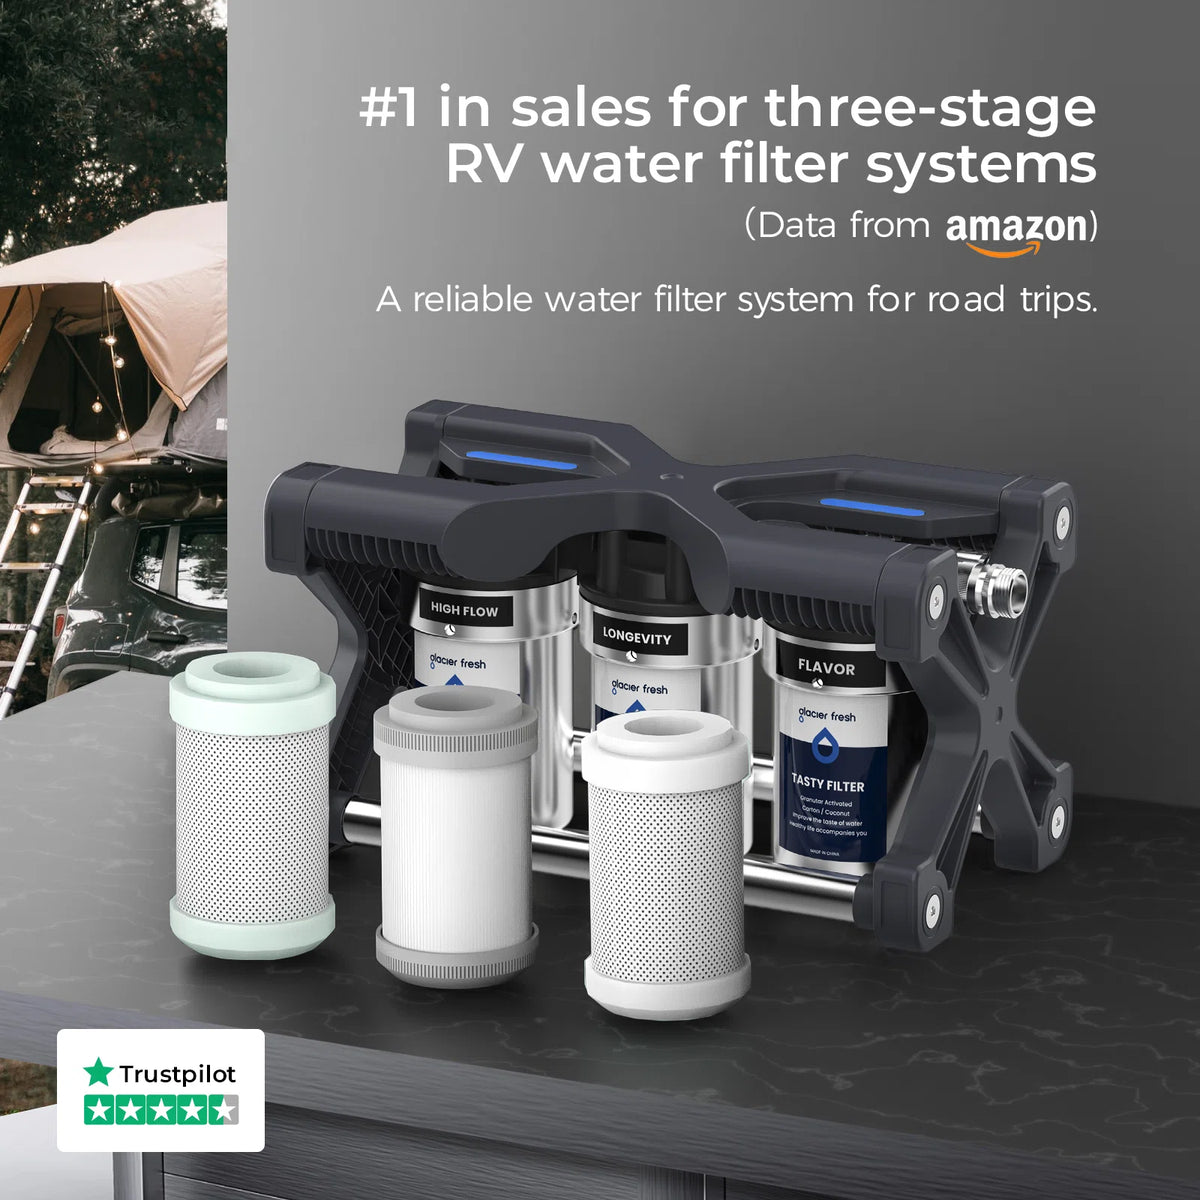
- RV and Camping: changing fill stations, storage tanks and campground hookups make routine screening more important than it is in a fixed home.
The EPA recommends testing your water at least annually for private wells, including total coliform bacteria, nitrates, total dissolved solids and pH levels.
A basic screening kit is useful for heavy metals, chlorine, pesticides, nitrates, pH, sediment and water hardness. If scale is your biggest issue, review Glacier Fresh's guide to water hardness before choosing a softening or filtration setup.
Why DIY Testing Is the First Step?
A diy water test is best understood as a screening tool, not a final diagnosis. It helps you decide whether your water looks normal, needs another test, or should be confirmed by a certified lab before you make a health or equipment decision.
DIY kits are affordable and fast, but they may not detect all contaminants or measure low concentrations accurately. A lab is more appropriate when you need legally defensible numbers, when an infant or pregnant person uses the water, or when results are close to a safety threshold.
Here are the difference between DIY testing and certified Laboratory Testing:
- DIY Test Kits (Strips & Digital Meters): Best for routine screening, identifying total dissolved solids (TDS), pH levels, chlorine, and water hardness. They provide fast, actionable results at home.
- Certified Lab Tests: Essential if you suspect severe biological contamination (e.g., E. coli in well water), heavy industrial runoff, or if a DIY test flags a critical heavy metal issue that requires exact quantification.
How to Check Your Home Water Quality in 4 Steps
Step 1: Choose the right water test kit

The right kit depends on your water source, your local risks and the decision you need to make. A home well water test kit should not be chosen the same way as a city-water chlorine kit or an RV travel kit.
- Test strips: affordable and simple for pH, chlorine, hardness, iron, copper and nitrate screening. well water testing strips are useful for quick checks, but they are not a substitute for a certified lab after flooding or suspected bacteria.
- Color disk or vial kits: These often provide more precise measurements for specific contaminants, such as water hardness or chlorine. They involve adding reagents to a water sample and comparing the color to a rotating disk.
- Digital meters: helpful for ongoing TDS, temperature and pH tracking, but they do not identify specific contaminants by themselves.
- Mail-in kits: best for bacteria, PFAS, arsenic, pesticides, VOCs and low-level lead confirmation.
For a first household screen, choose a multi-parameter kit that includes lead, copper, nitrate/nitrite, chlorine, pH and hardness. For a private well, a home well water test kit should be paired with annual lab testing for bacteria and nitrate.
| Option | Best For | Cost / Time | Accuracy and Contaminant Scope |
| DIY strips or vials | Fast screening for chlorine, pH, hardness, nitrate, iron, copper, basic lead checks | $10–$40; 10–30 minutes | Good for pass/fail or approximate ranges; limited for bacteria, PFAS, arsenic, and low-level metals |
| Certified lab test | Confirming health-risk contaminants; real estate, infant, pregnancy, well, or post-flood situations | $50–$300+; 3–10 business days | Most defensible result; choose panels based on local risks (lead, nitrate, bacteria, arsenic, PFAS, VOCs) |
| Professional in-home service | Troubleshooting odor, scale, staining, appliance damage, or complex treatment design | $100–$500+; same day to 1 week | Useful for diagnosis and system sizing; confirm health claims with certified lab data when needed |
Step 2: Collect your water sample correctly

Accurate sampling matters as much as the kit itself. Use the faucet and conditions that match the question you are trying to answer, because stagnant water, hot water and poor timing can all change the result.
- Pick the right source. For drinking-water screening, use the kitchen faucet or the tap most often used for cooking and drinking.
- Flush cold water for 2-3 minutes unless the kit specifically asks for a first-draw sample for lead.
- Avoid touching the strip pads, vial rim or sample cap. Oils and residue from your hands can affect color reactions.
- Run a separate hot water test if you notice metallic taste, cloudy hot water or old water-heater plumbing, because hot water can dissolve metals more readily than cold water.
- For RV tanks, sample after the filter and at the faucet. If the post-filter result looks worse than the source, sanitize the tank and replace the cartridge before travel.
Step 3: Perform the test and record results
Follow timing instructions exactly. Most reading errors happen when strips are dipped too long, read too late or compared under poor lighting.
- For strips: dip for the specified seconds, hold level, wait the stated reaction time, then compare to the chart in natural light.
- For vials: add the exact number of drops, cap the vial, shake as directed and compare against the provided background.
- Record the result: photograph the strip or vial next to the chart, note the date, faucet, cold/hot water, filter age and whether the water came from a well, city supply or RV hookup.
- Repeat a diy water test when the color falls between two chart blocks, when the strip pad looks uneven, or when the result conflicts with taste, odor or recent plumbing work.
Step 4: Interpret your DIY water test results
Treat the result as a decision point. Clear results support routine monitoring, borderline results call for a repeat test, and confirmed high-risk results should move to professional lab testing or immediate precautions.
| Contaminant / sign | DIY detectable? | Lab test priority | Filter notes and U.S. risk cues |
|---|---|---|---|
| High hardness / scale | Yes: strips or titration kits | Low unless severe | Softening or scale-control media; common in groundwater and Southwest/Mountain West areas |
| Chlorine taste or odor | Yes: strips, color disk | Low for municipal water | Carbon filtration is usually effective; check chloramine separately if used by utility |
| Lead or copper | Some kits screen; confirm borderline results | High in older homes | Use certified lead-reduction filters; higher risk in older Northeast/Midwest housing |
| Nitrates / nitrites | Yes: strip screening | High for wells, infants, pregnancy | RO reduces nitrates; higher risk near agriculture or septic systems |
| Bacteria / coliform | Limited presence/absence kits | High for wells or flooding | Use UV/disinfection or boil-water guidance; don’t rely on taste or smell |
| PFAS, pesticides, arsenic, VOCs | Usually no / limited | High in risk areas | RO and certified carbon may help; lab testing is key starting point |
If two kits disagree, repeat the test with a fresh sample and a new strip, then compare the result against local water reports or a certified lab. Borderline lead, nitrate, bacteria or PFAS findings should not be averaged away; confirm them and act conservatively.
What to Do Next: Understanding Your Water Test Results

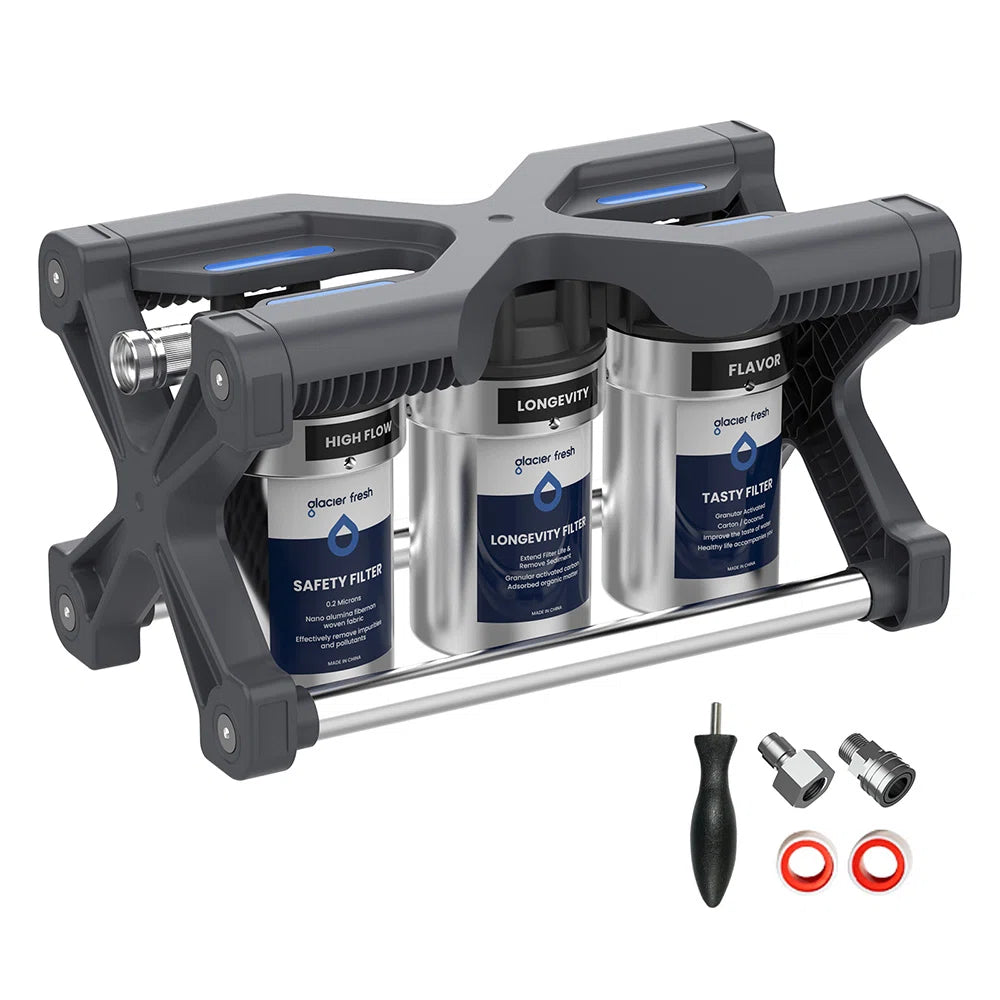
After knowing the water quality what should you do? Well, choosing a right water filter is the best choice. Although we can’t change the water quality outside our homes, we can at least change it inside our homes. Here are some water filters to address the water issues at home and outdoors.
Scenario 1: Your DIY test was clear
That's great news! However, please make a note of the test date and the water source so you can compare the results with future tests. Also, whether you use tap water or well water, we recommend that you have the water tested once every six months. If you are pregnant, we recommend that you have it tested regularly.
Scenario 2: Your DIY test shows a problem
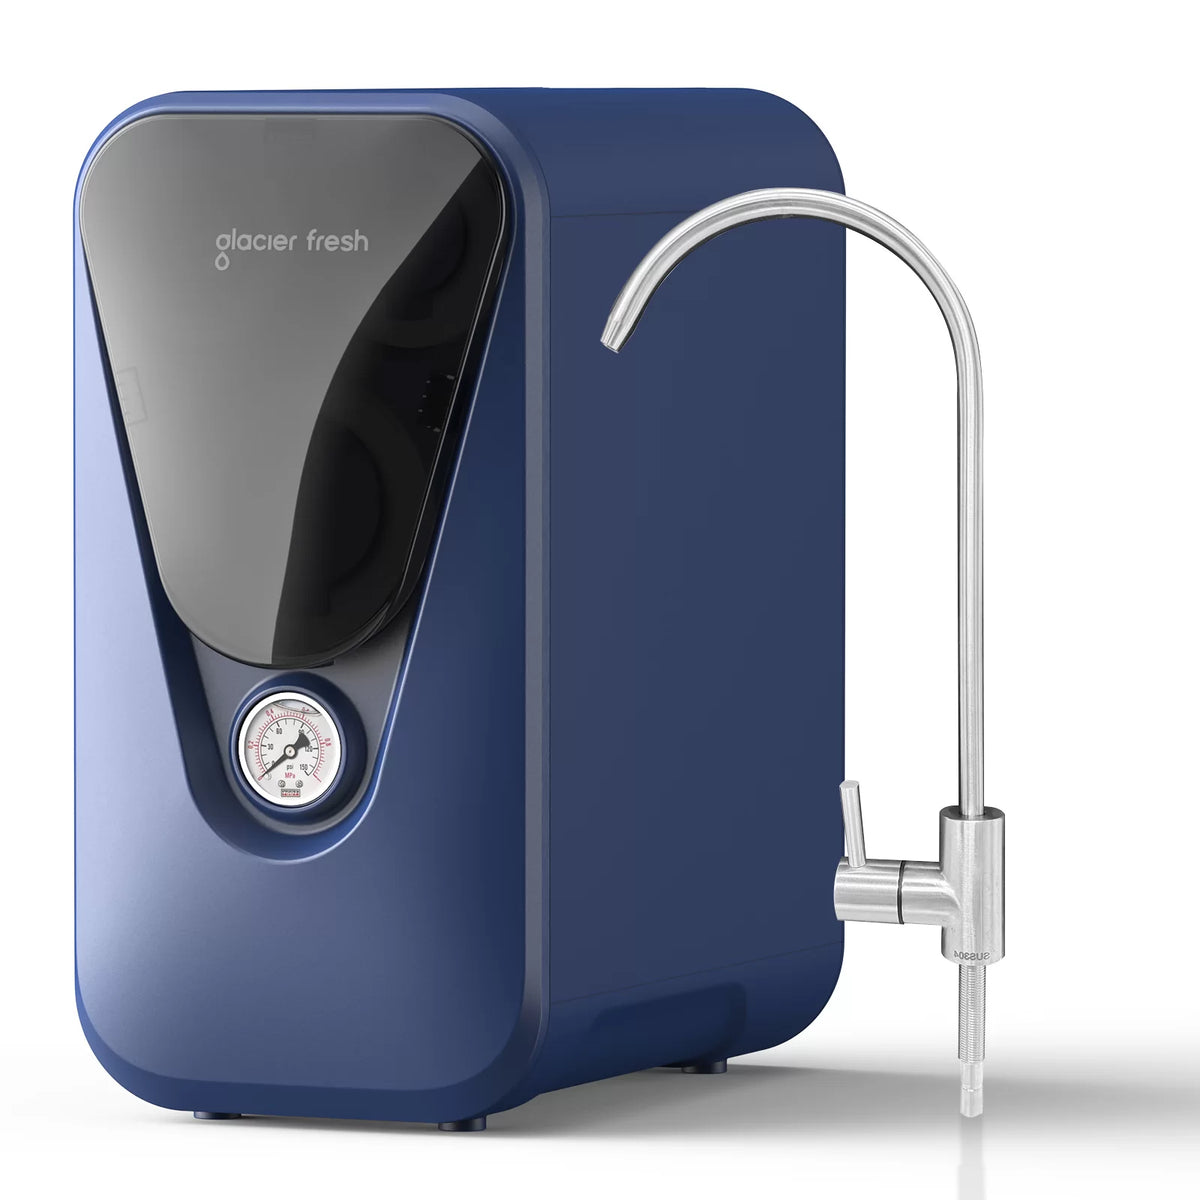
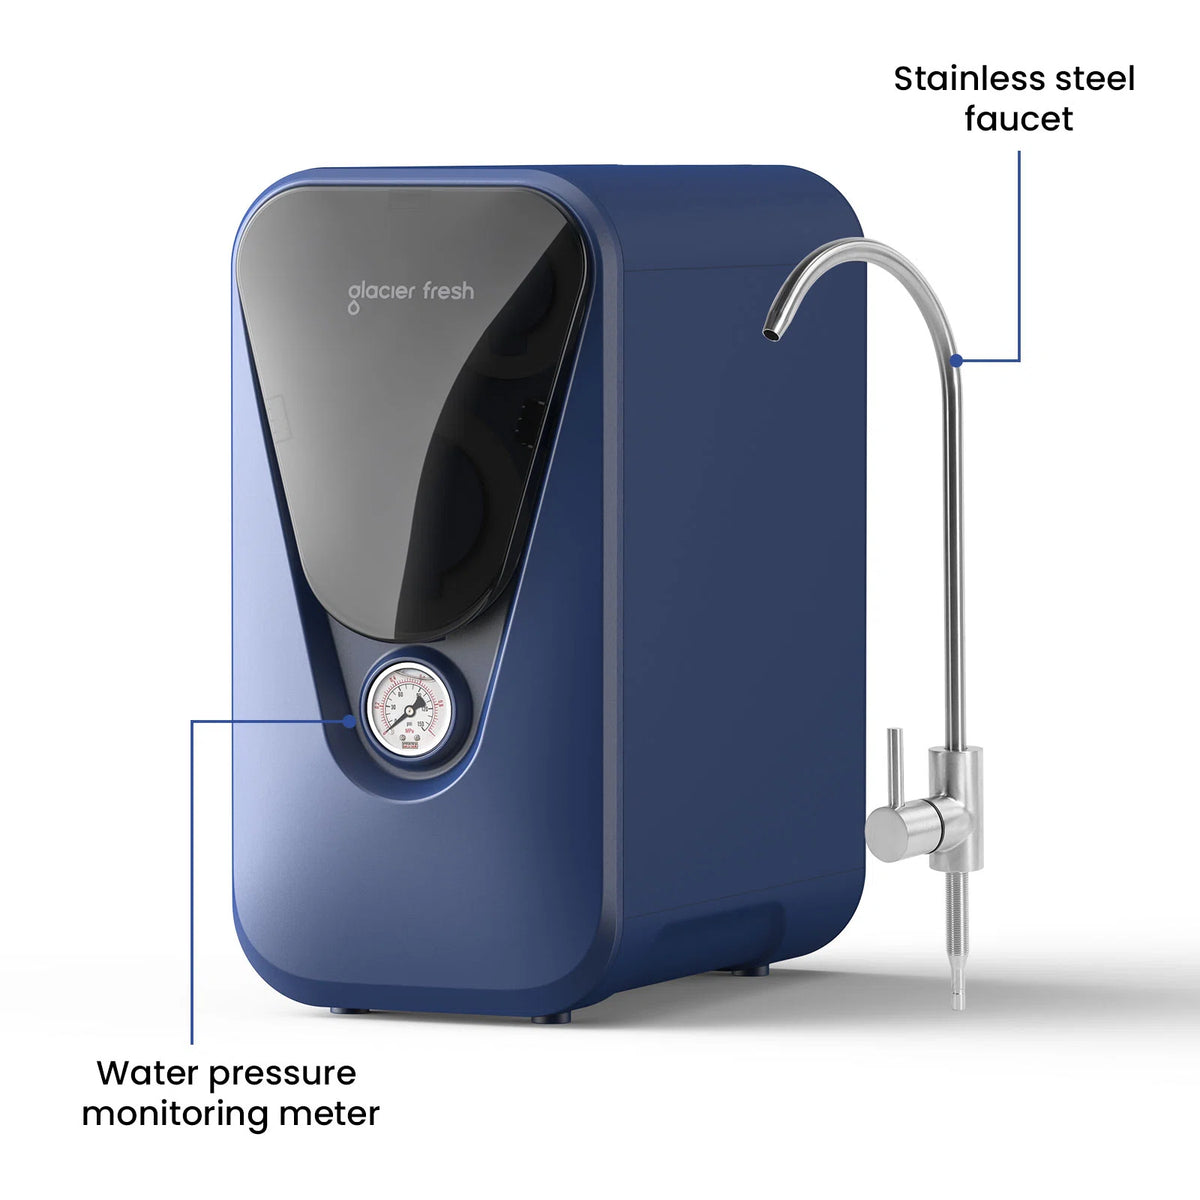
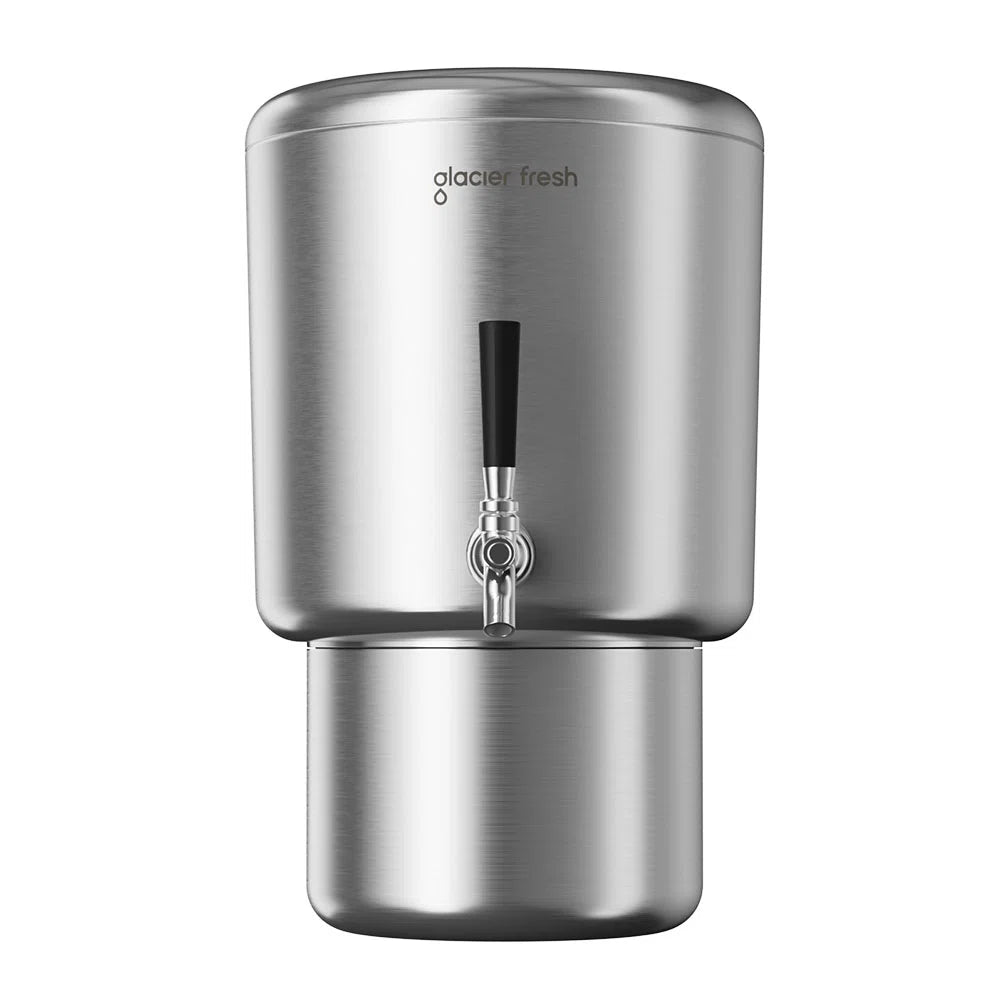
If heavy metals or PFAS are detected, there’s no need to panic—the RO water filtration systems currently available on the market can effectively solve this problem. For example, the Glacier Fresh TankInside RO system water filtration filters out 99.9% of harmful substances and bacteria to ensure the safety of your drinking water.
However, if the concentration of heavy metals or the level of contamination in your home significantly exceeds safety standards, we recommend that you contact your local health department while installing a water filtration system.
Quick filter replacement estimate
Use this simple rule of thumb: annual cartridge changes = annual gallons used ÷ rated filter gallons. For example, a family using 2 gallons of drinking water per day uses about 730 gallons per year. A 500-gallon cartridge would need roughly 1.5 changes per year, so plan for two replacements. RV users should shorten the interval after dusty travel, algae odor, low flow, visible sediment or campground water with heavy chlorine.
FAQs
How often should I test my water quality using these kits?
Municipal water users can run a diy water test once a year, or sooner after plumbing work, unusual taste, discoloration or a local water advisory. Private well users should test annually through a lab for bacteria and nitrate, with quick kits used between lab tests for changes in pH, nitrate, hardness or chlorine where relevant.
Are DIY water test kits accurate?
They are accurate enough for screening common problems when used correctly, but they are not a substitute for certified lab testing. Temperature, expired strips, poor lighting and reading the strip too late can all distort results.
What should I consider when choosing a water testing service or kit?
Start with your water source, local risks, health sensitivity and the decision you need to make. A city-water kit may focus on chlorine, lead and hardness, while a well or RV setup may need bacteria, nitrate, sediment and broader chemical screening. Choose a certified lab when the answer could affect health, property sale, infants or pregnancy.
Can I test for all contaminants with a single water test kit?
No. One kit cannot reliably test every contaminant at every useful concentration. A broad kit can screen common issues, but PFAS, VOCs, arsenic, some pesticides and bacteria often require targeted lab methods or specific presence/absence tests.
What certifications should I look for in a water filter or test kit?
For filters, look for certifications or verified testing tied to the contaminant you want to reduce, such as NSF/ANSI 42 for taste and odor, 53 for many health-related contaminants, 58 for RO systems and 401 or PFAS-related claims where applicable. For lab testing, use a state-certified drinking-water laboratory. FDA or FCC labels do not prove drinking-water contaminant reduction.
Conclusion
Taking control of home water quality does not have to be complicated. Start with careful sampling, choose the right kit, record the result and know when to escalate. A simple screening routine can answer why water testing is important for ensuring safe drinking water, while certified lab testing provides the confidence needed for serious health-risk decisions.
If a screen raises a concern, confirm it before choosing treatment. The best filtration system is the one matched to your actual water source, contaminant profile, usage pattern and maintenance budget.